Registering the Dropsuite Service Manager
- Apostolos Karakaxas
- Panagiotis Papanastasiou
- Nikos Giannikopoulos
- Former user (Deleted)
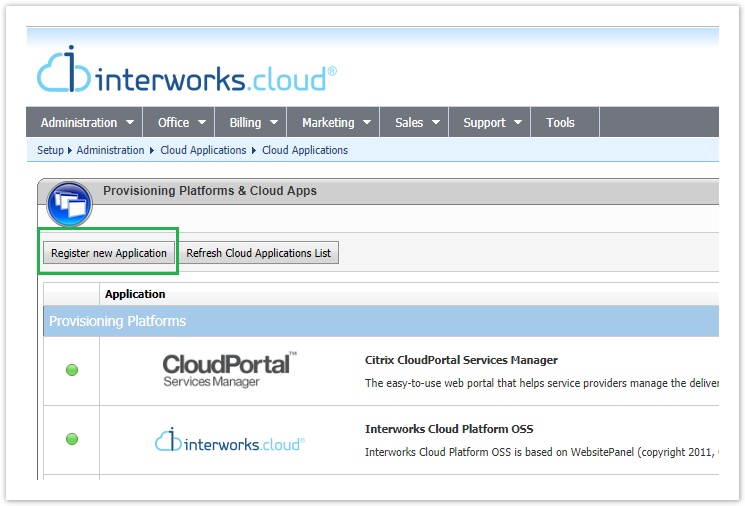
- Navigate to BSS > Setup > System Options > Applications Setup
- Select "Register New Application"
- The new application registration page will be displayed and you must select the following:
- "Application name" and "Description": Dropsuite Email Backup
- "Reseller Support Enabled" must be checked
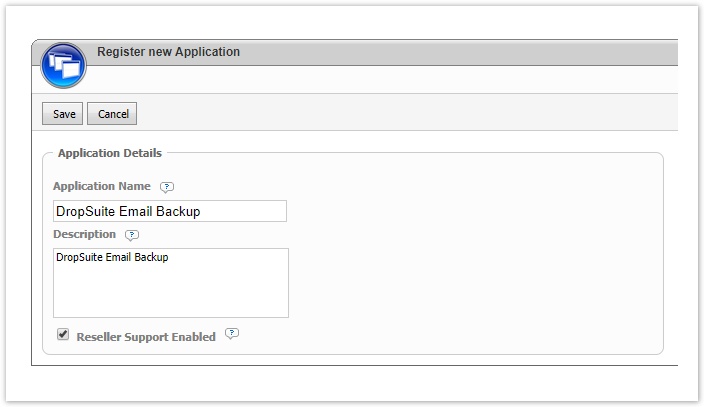
- Save the new application.
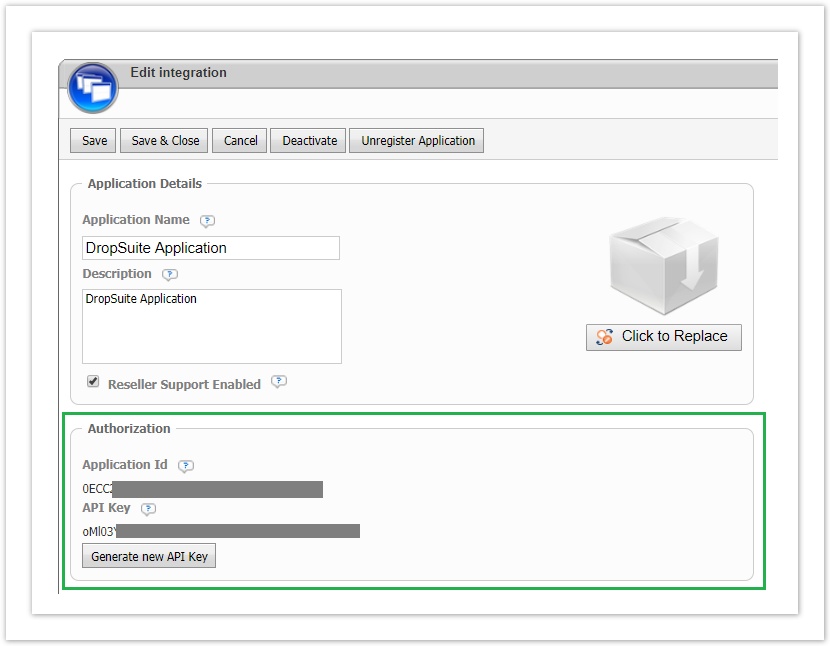
The save action generates the "Application Id" and "API key" values that are specific for your installation. These keys are available in the registration page
- Add in the authentication section the below URLs:
Account Synchronize URL
Subscription Create URL
Subscription Update URL
Subscription Activate URL
Subscription Cancel URL
Addon Create URL
Addon Update URL
Addon Cancel URL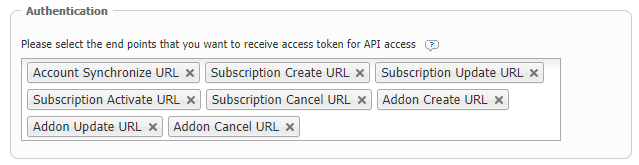
- Define the end points.
Droposuite has deployed their service manager in two different EU locations. Depending on where you are located, you will be informed which base url must use for the end points.
West EU base URL: https://euw.dropmyemail.com/api/infiterra
Central EU base URL: https://euc.dropmyemail.com/api/infiterra
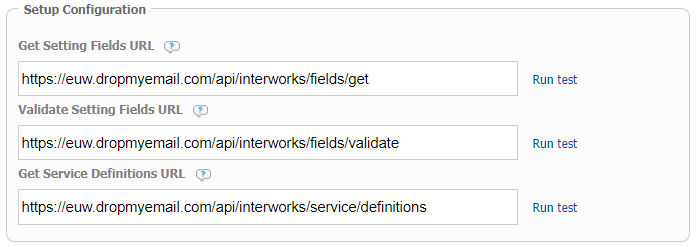
Setup Configuration end points Getting Settings Fields: [BASE URL]/fields/get
Validate Setting Fields: [BASE URL]/fields/validate
Get Service Definitions: [BASE URL]/service/definitions
Account Management end points Account Get Synchronization Options: [BASE URL]/accounts/syncoptions
Account Synchronize: [BASE URL]/accounts/synchronize
Account Delete: [BASE URL]/accounts/delete
Account Exists: [BASE URL]/accounts/exists
"Send email notification to customer" option
Make sure that you will enable this option for the customer to receive an email with his Dropsuite portal credentials. Check DropSuite Welcome Email for more details.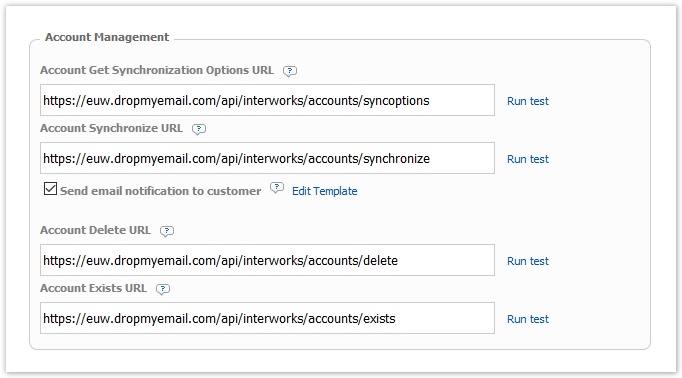
Subscriptions Management end points Subscription Create: [BASE URL]/subscriptions/create
Subscription Update: [BASE URL]/subscriptions/update
Subscription Activate: [BASE URL]/subscriptions/activate
Subscription Suspend: [BASE URL]/subscriptions/suspend
Subscription Cancel: [BASE URL]/subscriptions/cancel
Non-Functional Endpoints
You may witness two Endpoint URL fields at the end of the Subscriptions Management, named
"Subscription Upgrade to Existing URL" and "Subscription Upgrade Get Existing Subscriptions URL".
These fields are by default empty and deactivated, so you should not change them.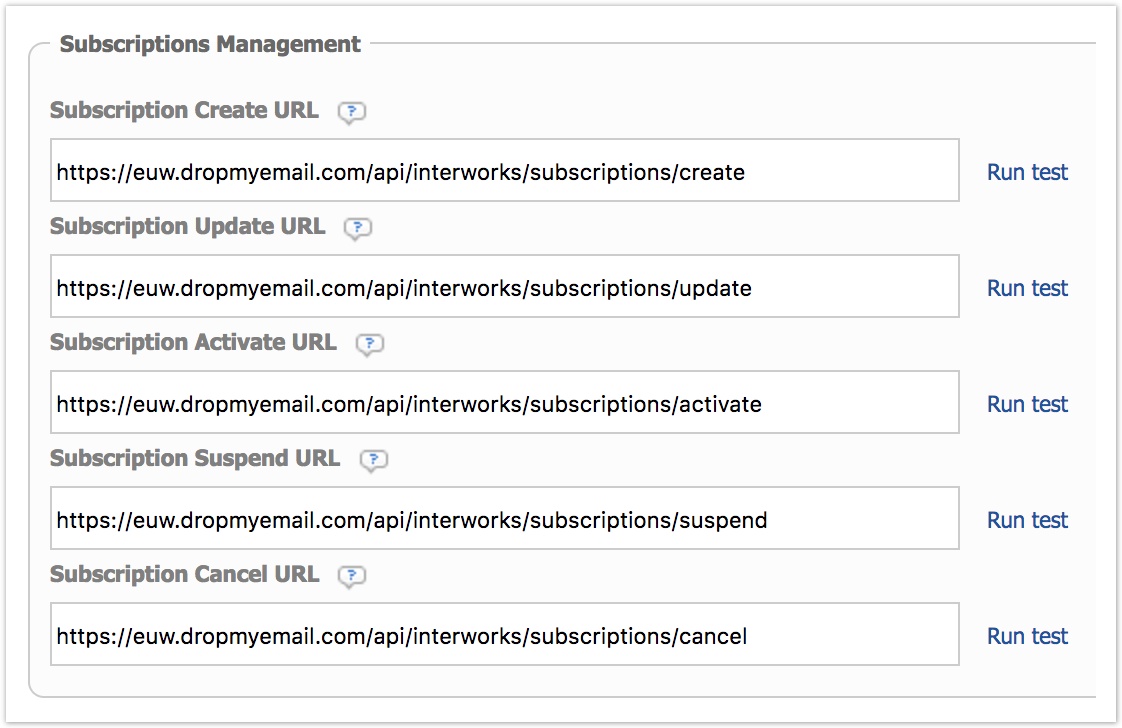

Addons Management end points Addon Create: [BASE URL]/addons/create
Addon Update: [BASE URL]/addons/update
Addon Cancel: [BASE URL]/addons/cancel

Save the edit page
The DropSuite application service manager is now registered in your BSS and you can activate it by following the instructions described in Activating the Integration with Dropsuite page.
DropSuite Welcome Email
After saving the DropSuite integration settings, a system notification will be created. It is located in BSS > Setup > Administration > Notifications > Customer Notifications in folder Accounts and It's called "Welcome DropSuite Application customer". You can also load this notification from the "Edit Template" link in the registration page.
This notification can be rebranded as all the rest notifications and includes system parameter: customer's user name for accessing DropSuite portal and the DropSuits' URLs.
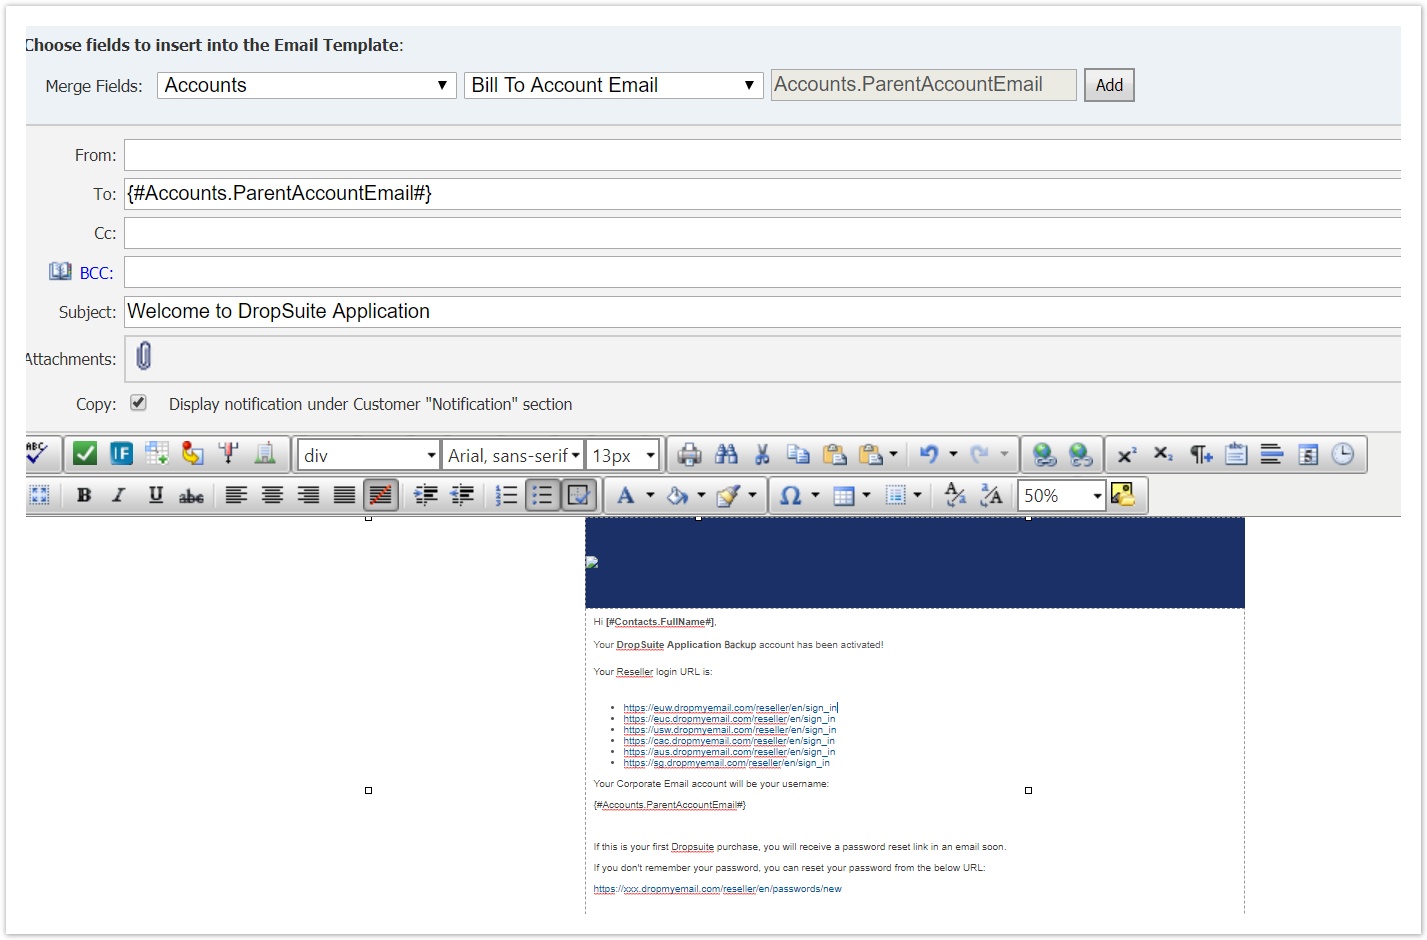
This emails is sent when a BSS account (reseller or end customer) is synchronised with Dropsuite. This email must contain the username of the Dropsuite user and the links for the Dropsuite reseller portal.
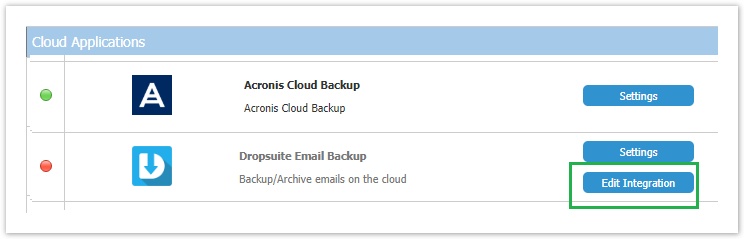
Updating the Registration Settings
You can always update the registration settings of DropSuite service manager from the "Edit Integration" button in "Cloud Applications" section.
You can proceed by learning how you can activate the Dropsuite service manager in your BSS
Next