| Excerpt |
|---|
For each object of interworks.cloud BSS (Accounts / Offers / Orders etc..) you can add as many custom fields as you need in order to capture additional information in interworks.cloud BSS. |
Create and Manage Custom Fields
Create a Custom Field
For each entity, you can create new fields (custom fields), in order to capture data that are needed to support specific business requirements.
Here is how to do that:
Login into interworks.cloud BSS and access the Set-up mode
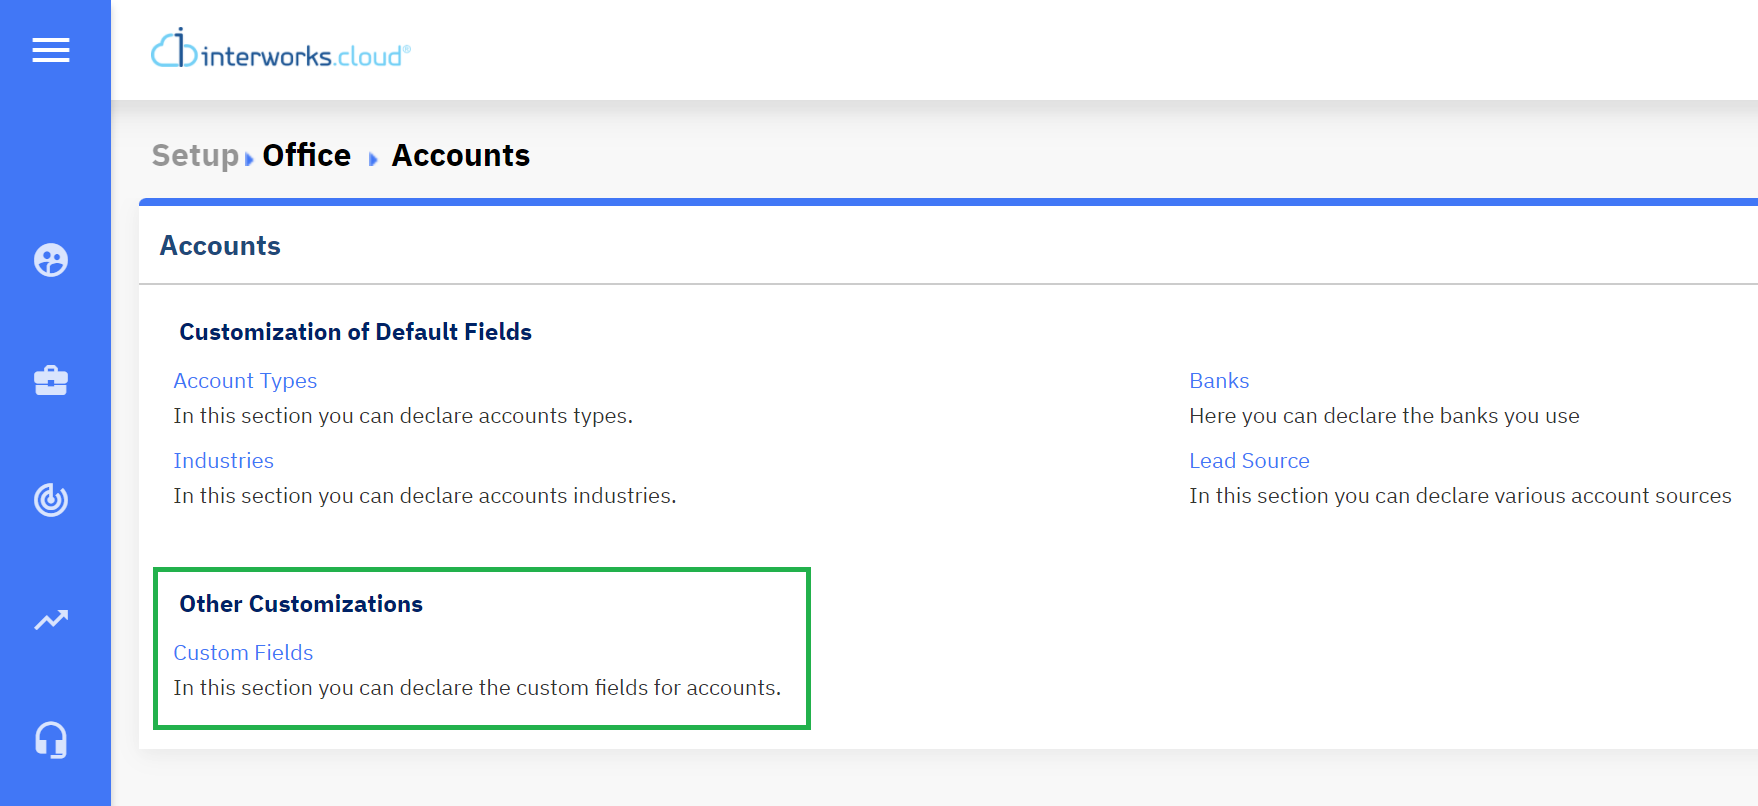
Select the module you need (e.g. accounts, contacts, invoices, subscriptions, etc.), and under the section Other Customizations click on the Custom Fields option.
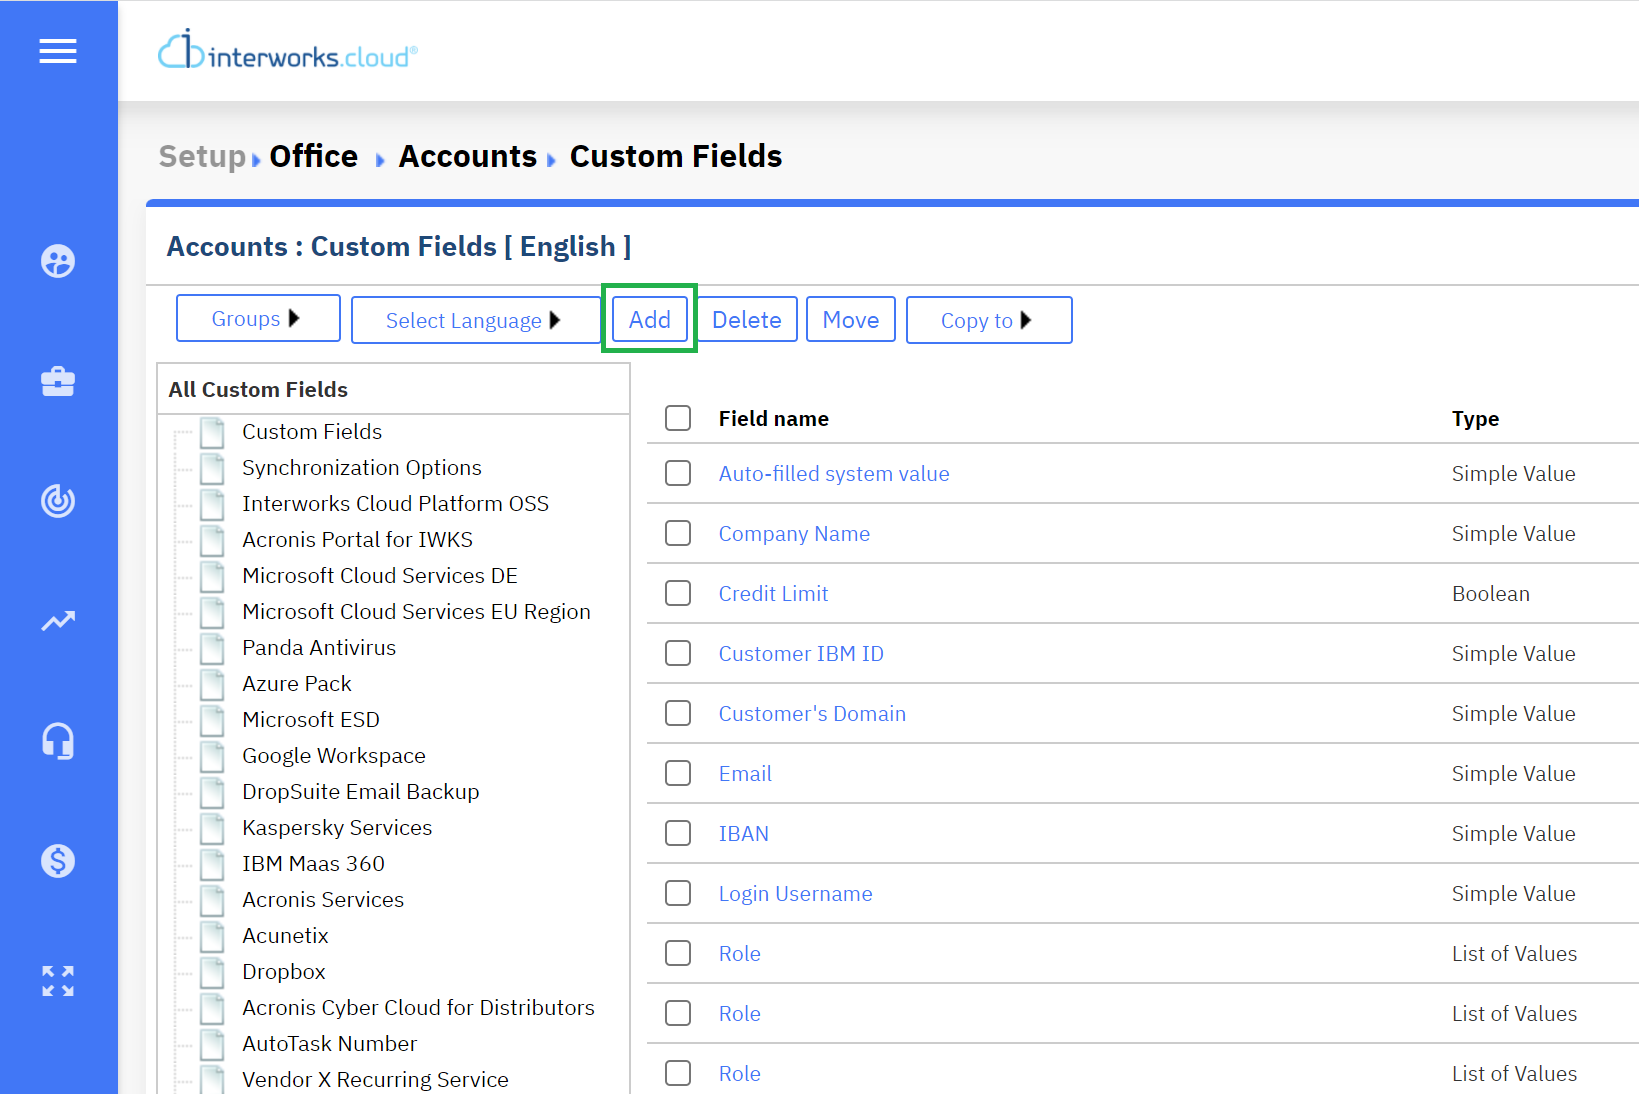
On the 'Custom Fields' screen click on the "Add" button. A new pop-up window appears.
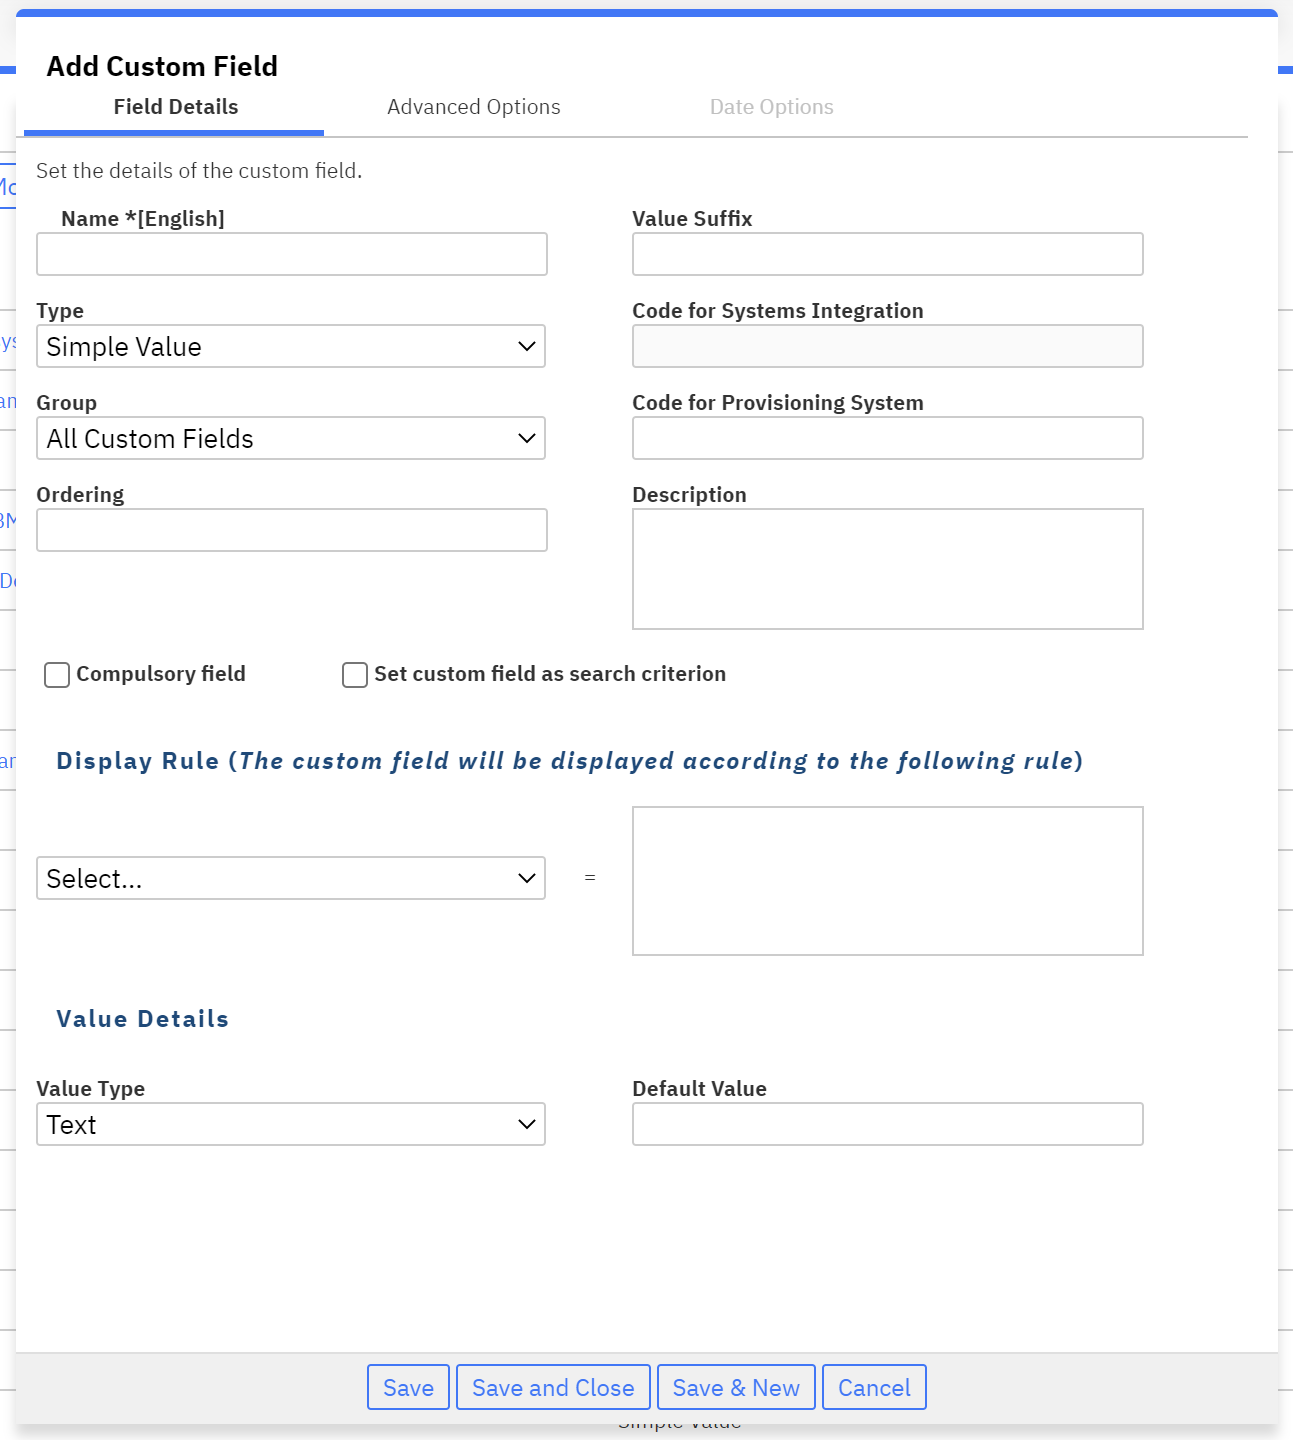
Complete the necessary information and click on the "Save and Close" option in order to display the field on the object's page. Below you will find the most basic details for the new field:
Name: The name of the field that will be displayed at BSS.
Type: The type of the value.
Group: The group that the field will belong to.
Ordering: If there is more than one field in the group, this signifies the ordering rank.
Compulsory field: If this field is compulsory, it will have to be filled.
Set Custom field as search criterion: This option enables the use of the field at the search facility of the platform.
Value Type: Based on the 'Type' of the field, you can select more options here.
Default Value: Signifies a specific, 'default' value for every entity.
| Rw ui textbox macro | ||
|---|---|---|
| ||
Please keep in mind that if you are planning to push or pull any kind of custom fields with an API call, you will have to populate the field 'Code for Provisioning System' with any numeric code (ex. 1245), of your preference. |
Define display rules for Custom Fields
You can modify the way a custom field will be displayed at the interworks.cloud BSS. You can create a rule that will define the display of the field according to a rule being valid:
In the 'Display Rules' section, click on the drop-down list and select a customer attribute
Then click the magnifying glass to retrieve the entries for each attribute.
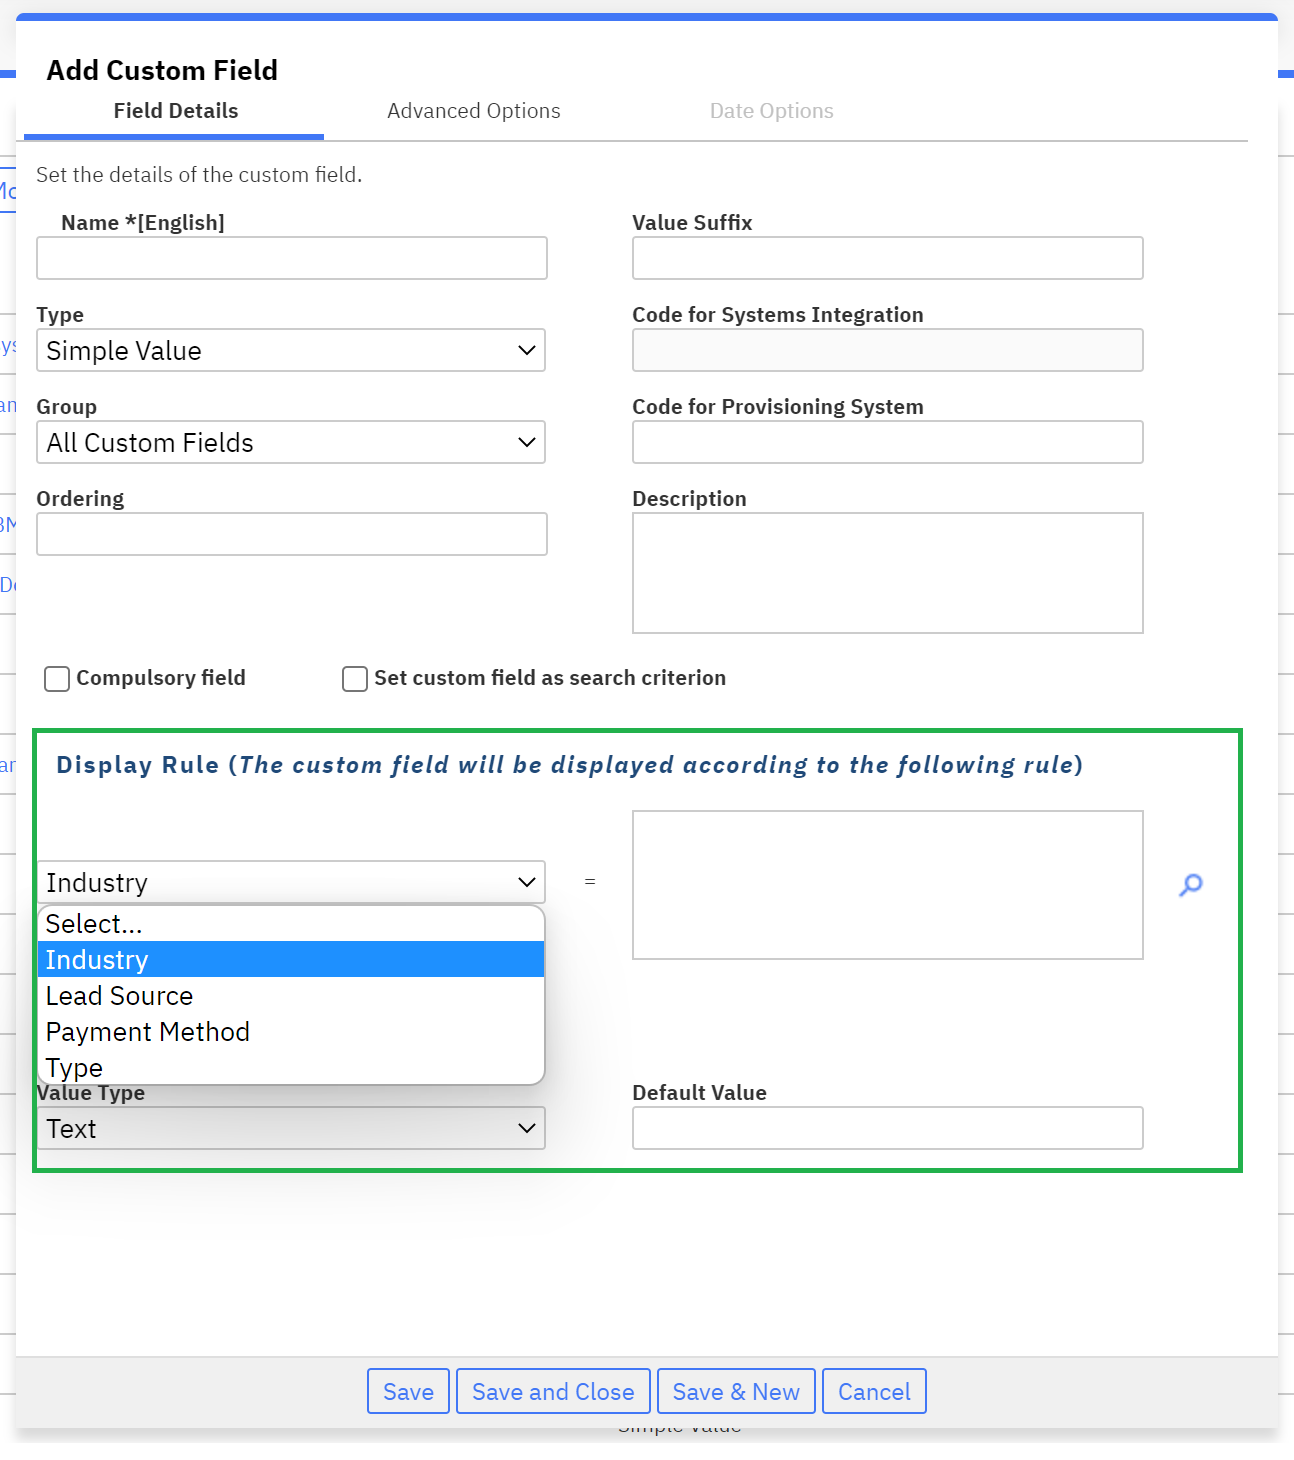
Select as many as you want, click Insert to Selected, and then click the Add button.
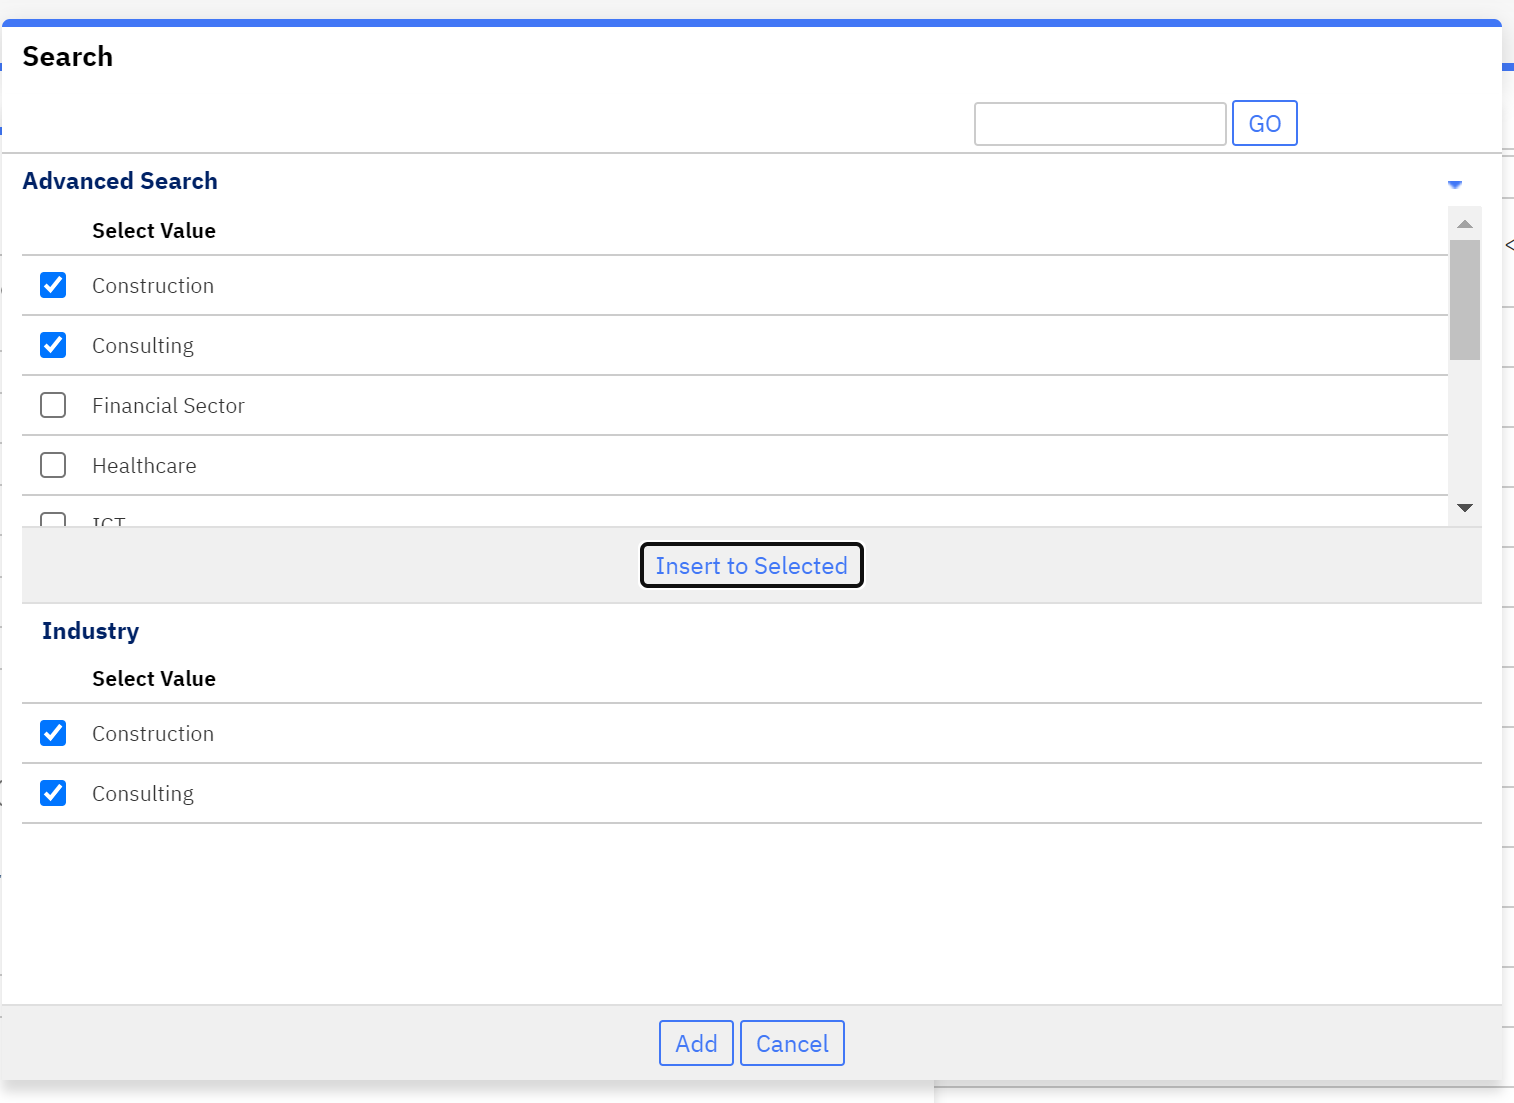
That's it. The field will be displayed if the above attributes are valid for the entity
| Rw ui textbox macro | ||
|---|---|---|
| ||
Some entities (accounts, Support cases, orders) support the display of a custom field to the Storefront! You can achieve this, by navigating to the 'Advanced Options' tab of the new custom field and mark the 'Show in Storefront'. |
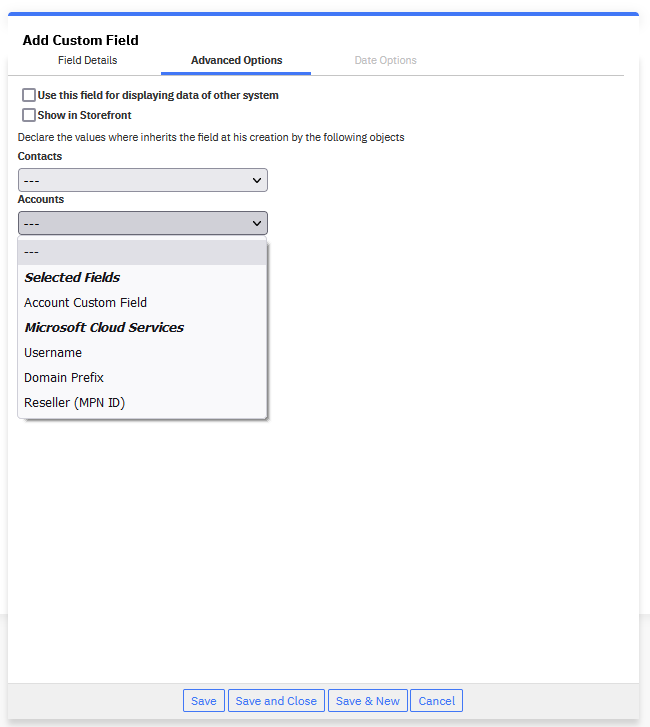
Custom Fields Advanced Options
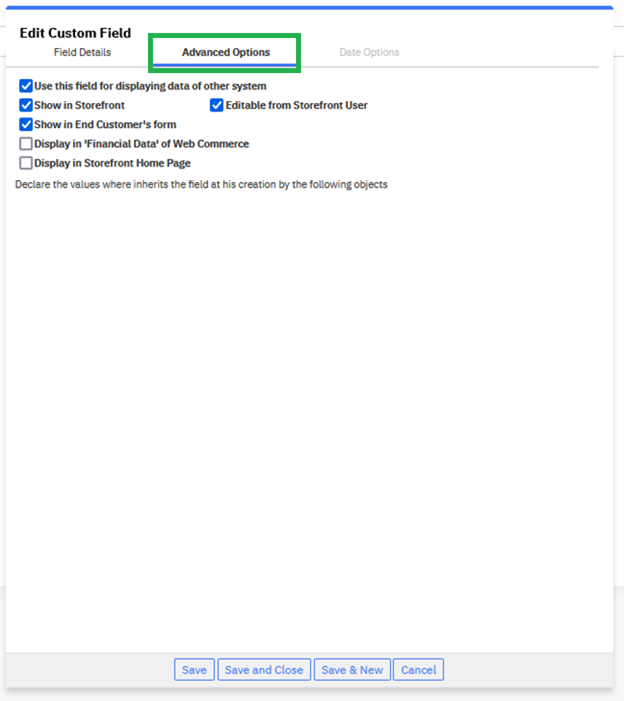
In the Edit Custom Field dialog, the Advanced Options tab features options to expand the possibilities of the custom field with regards to the storefront and the ways in which its value can be set.
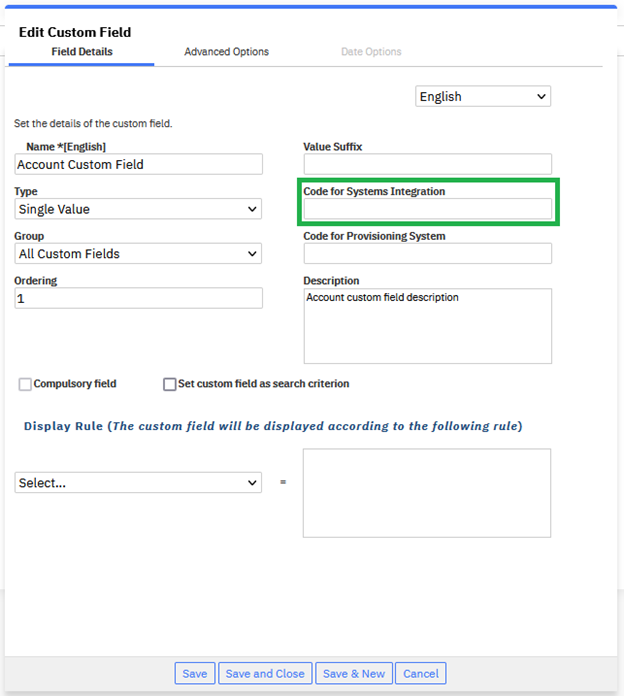
Custom Fields updated from a Third-Party System
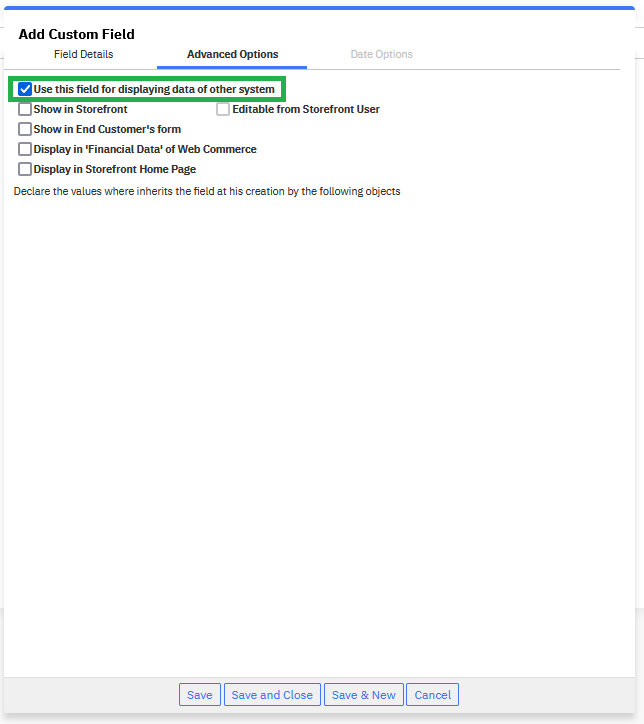
The Use this field for displaying data of other system checkbox allows the field to retrieve its value from the response to an API call. Specify the code in the Code for Systems Integration in the Field Details tab, which becomes mandatory when the aforementioned checkbox is enabled. Enabling this feature also makes the custom field read-only, and the value of the field cannot be modified by the BSS user when editing the details of the account.
Publish Custom Fields in Storefront
Certain custom fields can be displayed in the Storefront, based on the Advanced Options tab.
Account Custom Fields
Check Show in Storefront to display the field in the Storefront, where it appears on the My Profile page, in the Additional Information section. Check Editable from Storefront User to allow the storefront user to edit the field, otherwise, it will retain the value set in the BSS. Refer toDisplaying Extra Fields in "My Profile" Form for more information.
Check Show in End Customer’s form to enable the field in the first step of the checkout process. When selecting to purchase an item(s) for a new customer, the field will appear in the Additional Information section, after the customer’s details. Refer to Adding Extra Fields in Checkout Forms for more information.
Subscription Custom Fields
Check Show in Storefront to display any custom field in the subscription details in the Storefront. Check Publish Subscription's Promotion Details to the Storefront as an example of how you can publish subscription custom fields to the Storefront.
Inheriting Values from other Custom Fields
Custom fields can inherit values from one another, provided the two fields are of the same type. For example, any custom field created for Contacts can contain the value of a custom field specified in Accounts. To create the association between the two fields, go to the Advanced Options tab and:
Create a custom field in Accounts
Create a custom field of the same type (e.g. Text) in Contacts
In the Contacts custom field Advanced Options tab, select the custom field from Accounts
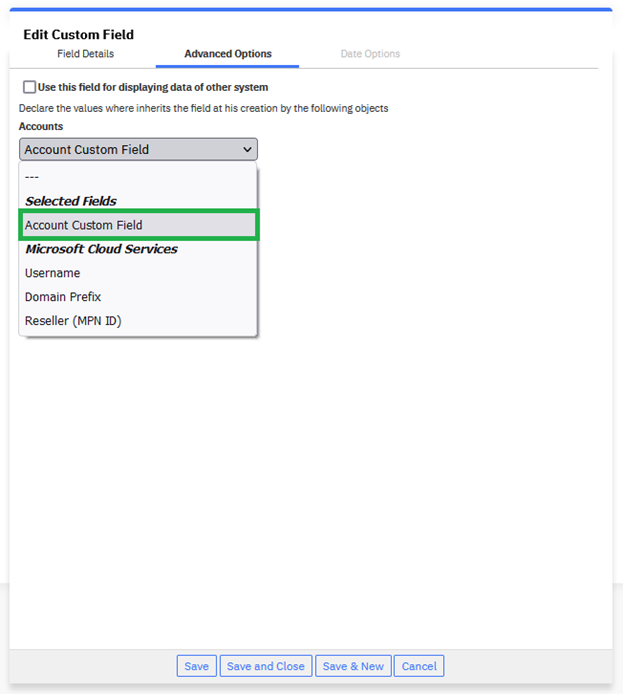
When a new contact is created under this account, it will now contain the value of the custom field from the Account.
Such associations can be created for most Custom Fields, however, not all custom fields can be associated with each other due to their hierarchy. The figure below shows the associations that can be created from a custom field in Offers.
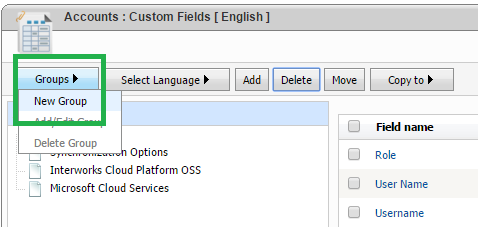
Group Custom Fields
If you need to create a new Group, follow the next steps:
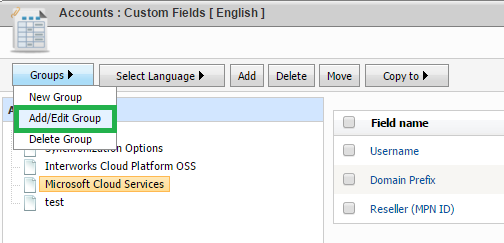
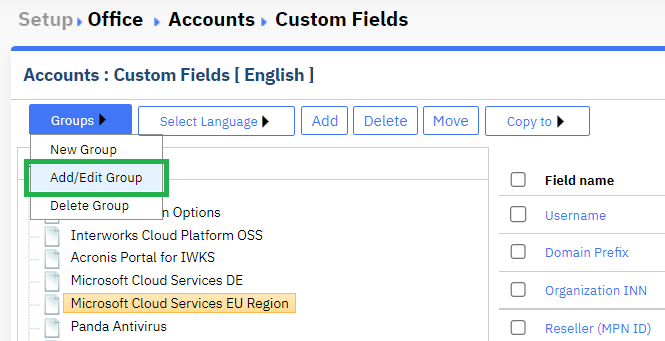
On the Custom Fields page, hover your mouse over the Groups button. From the drop-down list select the New Group option.
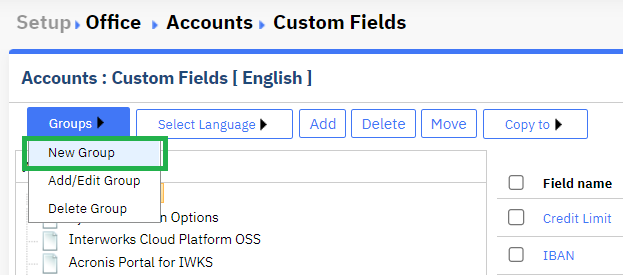
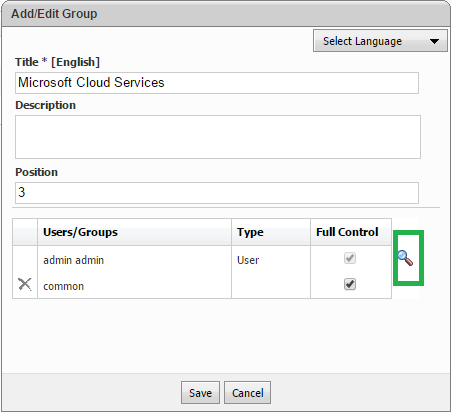
At the pop-up screen, fill in the group details and click the Save button.
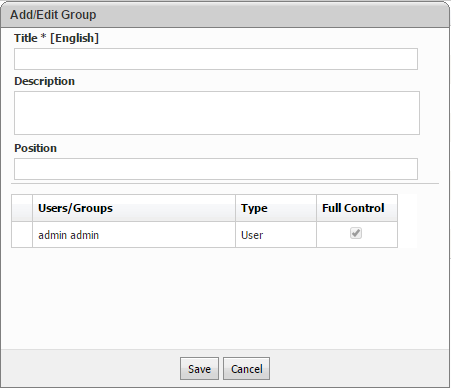
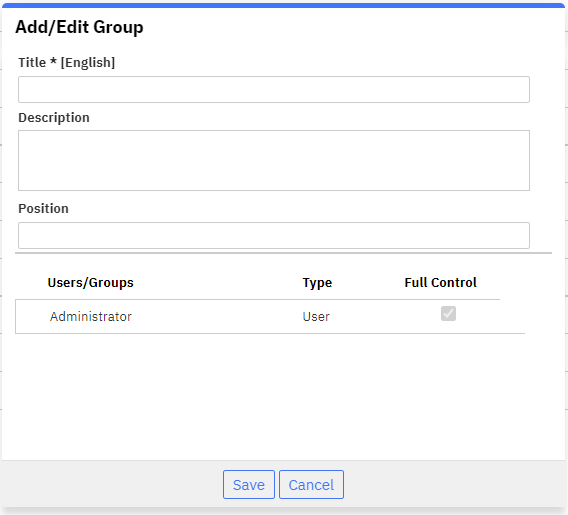
Set security level to control access to Custom Fields
You can set the access rights to this group (and the underlying fields) in the following manner:
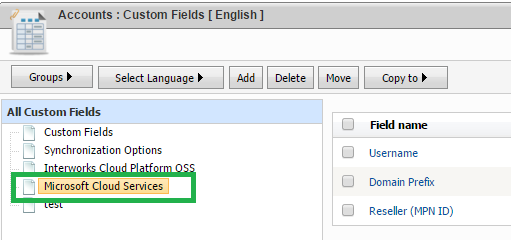
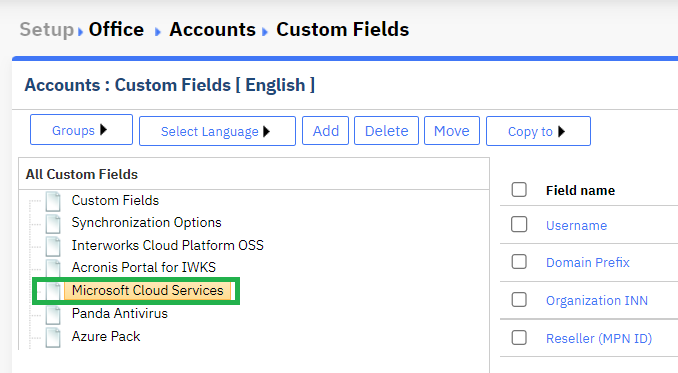
On the Custom Fields page, click on an existing group (orange highlight).
Then, hover your mouse over the Groups button. From the drop-down list, select the Add/Edit Group option.
Click the magnifying glass to access the available application users/user groups.
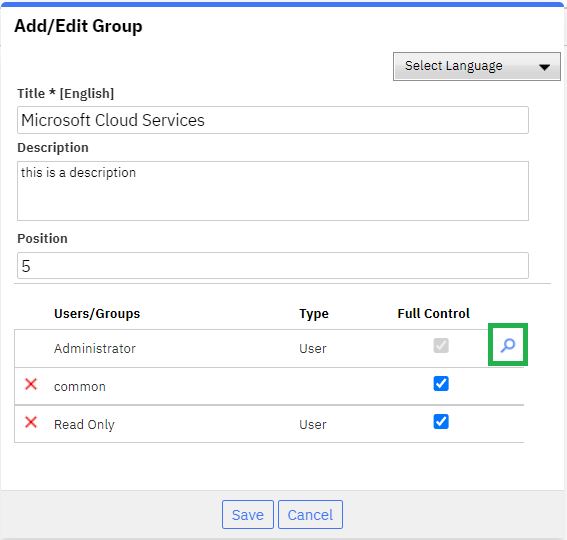
Click on the desired user or user group. Then, exit the screen and click on the Save button.
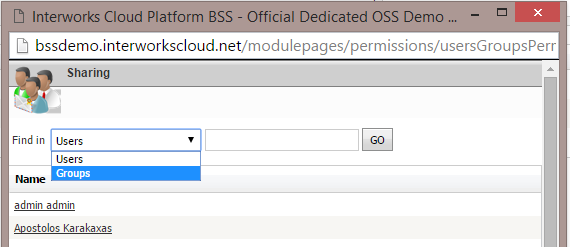
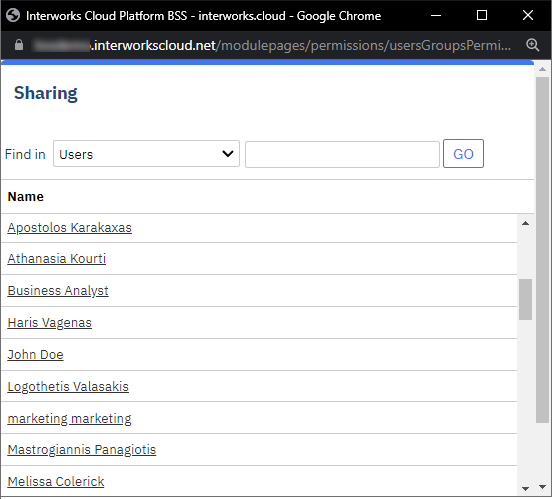
Table of Contents
| Table of Contents | ||
|---|---|---|
|
Entities Supporting Custom Fields in BSS Setup | |
|---|---|
Section | Entity |
Administration: | Users |
Office: | Accounts, Contacts, Tasks, Events, Documents |
Marketing: | Campaigns, Leads, Promotions |
Sales: | Opportunities, Offers, Orders |
Support: | Cases |
Billing: | Products, Price Lists, Contracts, Subscriptions, Assets, Invoices, Invoice Items |