| Excerpt |
|---|
| The process that follows describes the steps needed to order an MS Cloud Offering for an end-customer. |
Ordering Process For Partners
When a customer of yours logins at the Storefront and proceeds to enter an order on behalf of an end customer; this will be the flow of the ordering process:
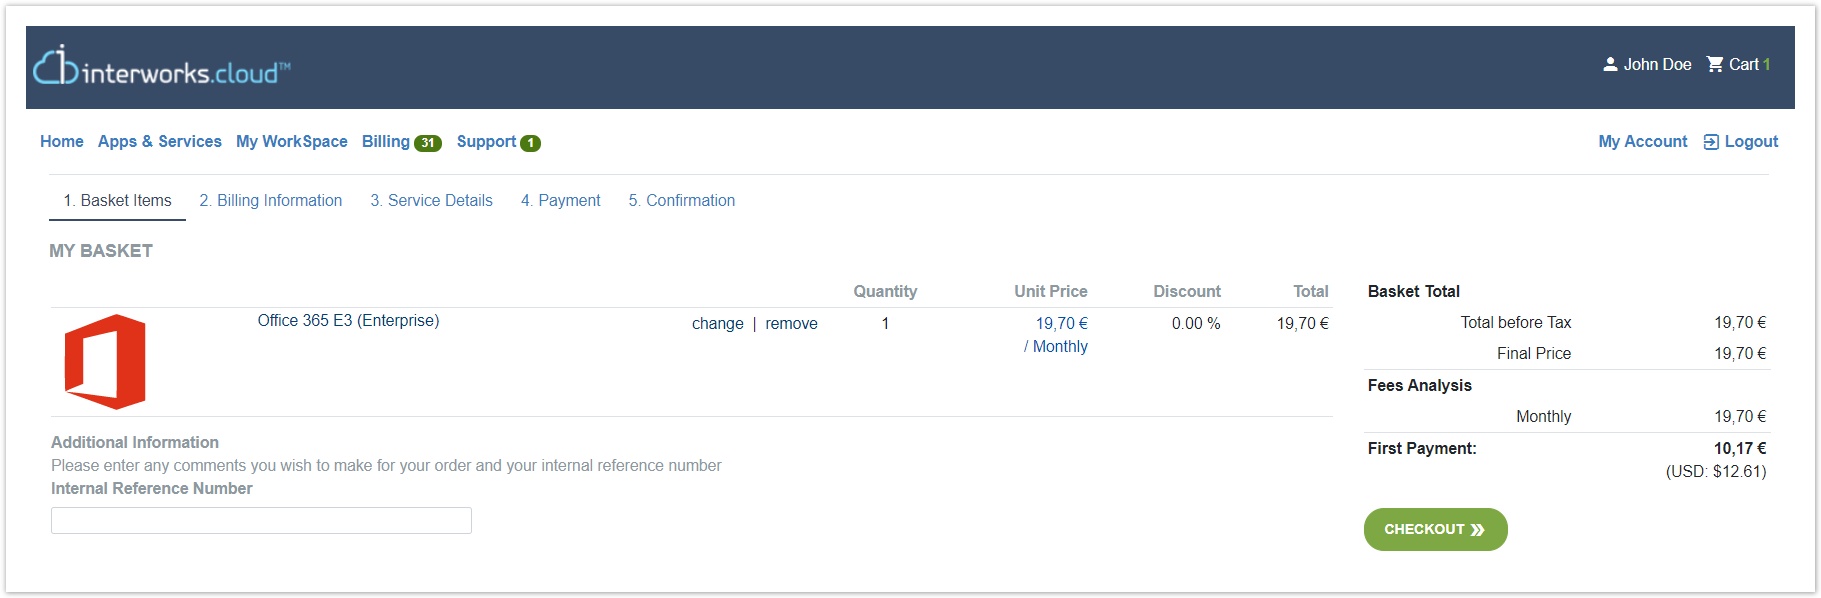
- After logging into the Storefront, select an MS Cloud offering from the 'Apps & Services' section and click the 'PROCEED TO CHECKOUT' button.
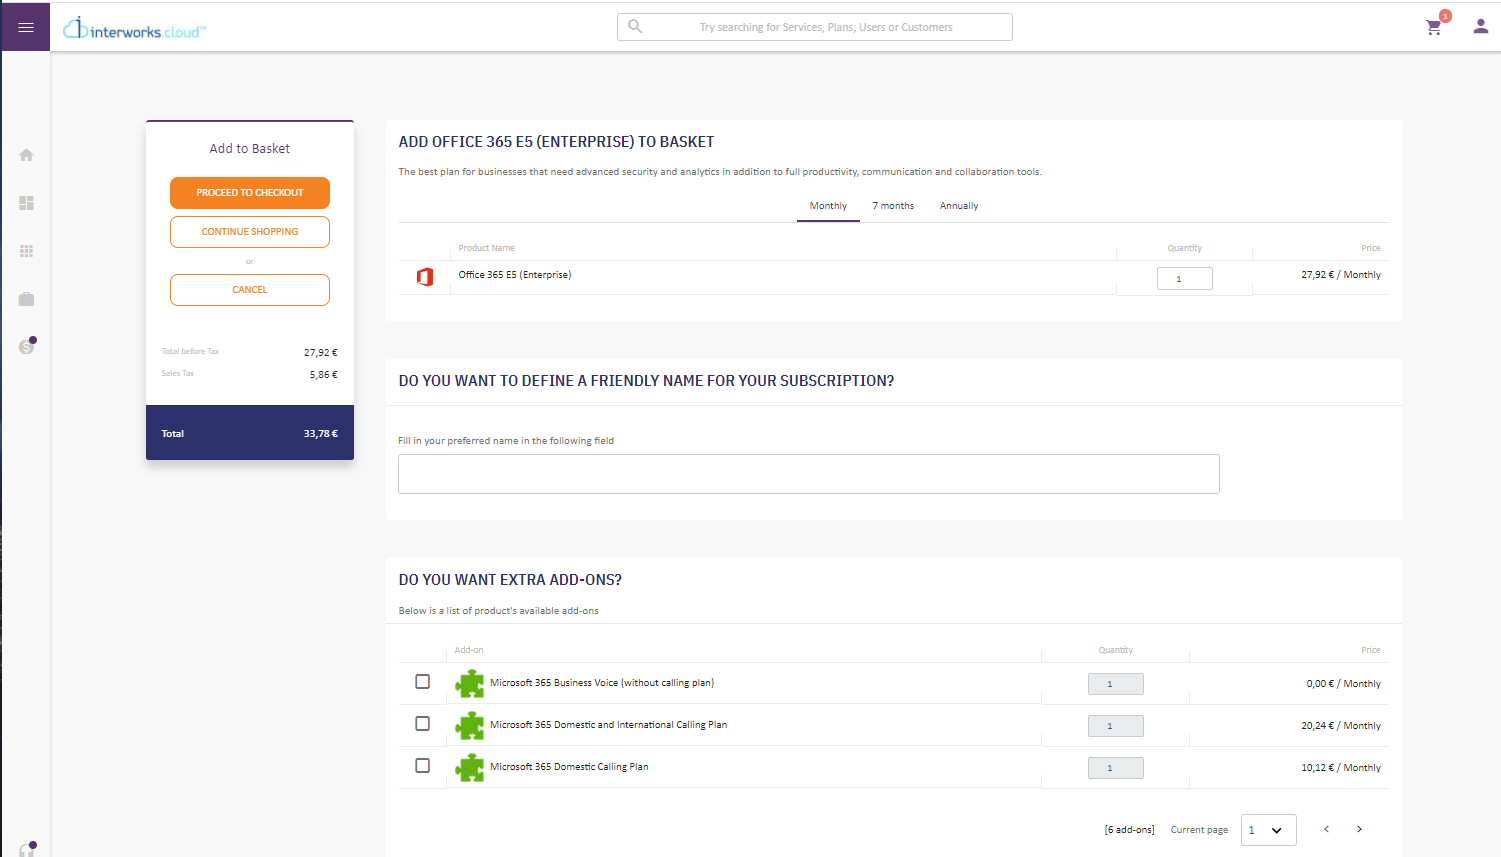
By checking the check-box of an add-on, located at the beginning of its row, you can select it for purchase in the desired quantity. - In the 1st step of the ordering process called 'Basket Items', you can choose if the order is being placed for an end-customer or for personal use.
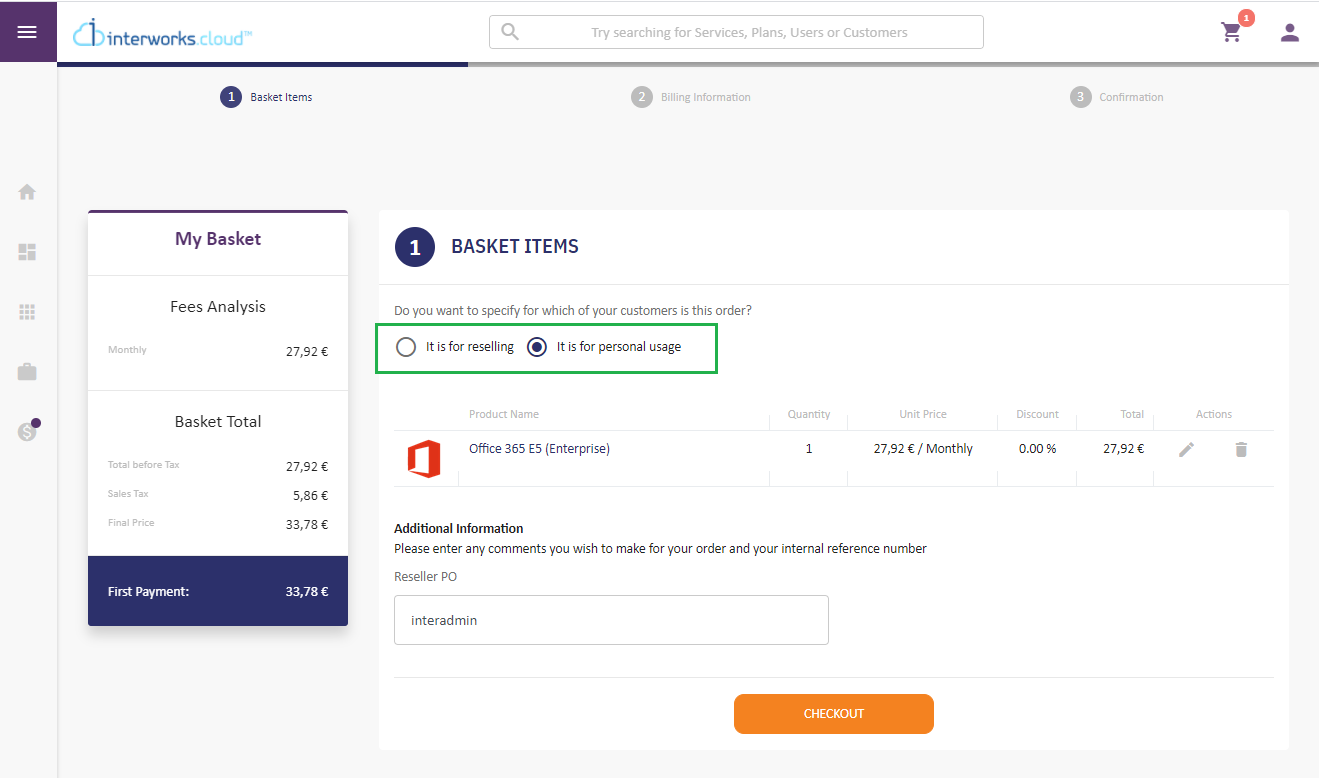
- If the order is placed for reselling to an existing customer, then a field named Select your customer appears in which the reseller must choose the name of an existing customer from the pre-populated dropdown list of referenced customer names and then proceed to 'CHECKOUT'.
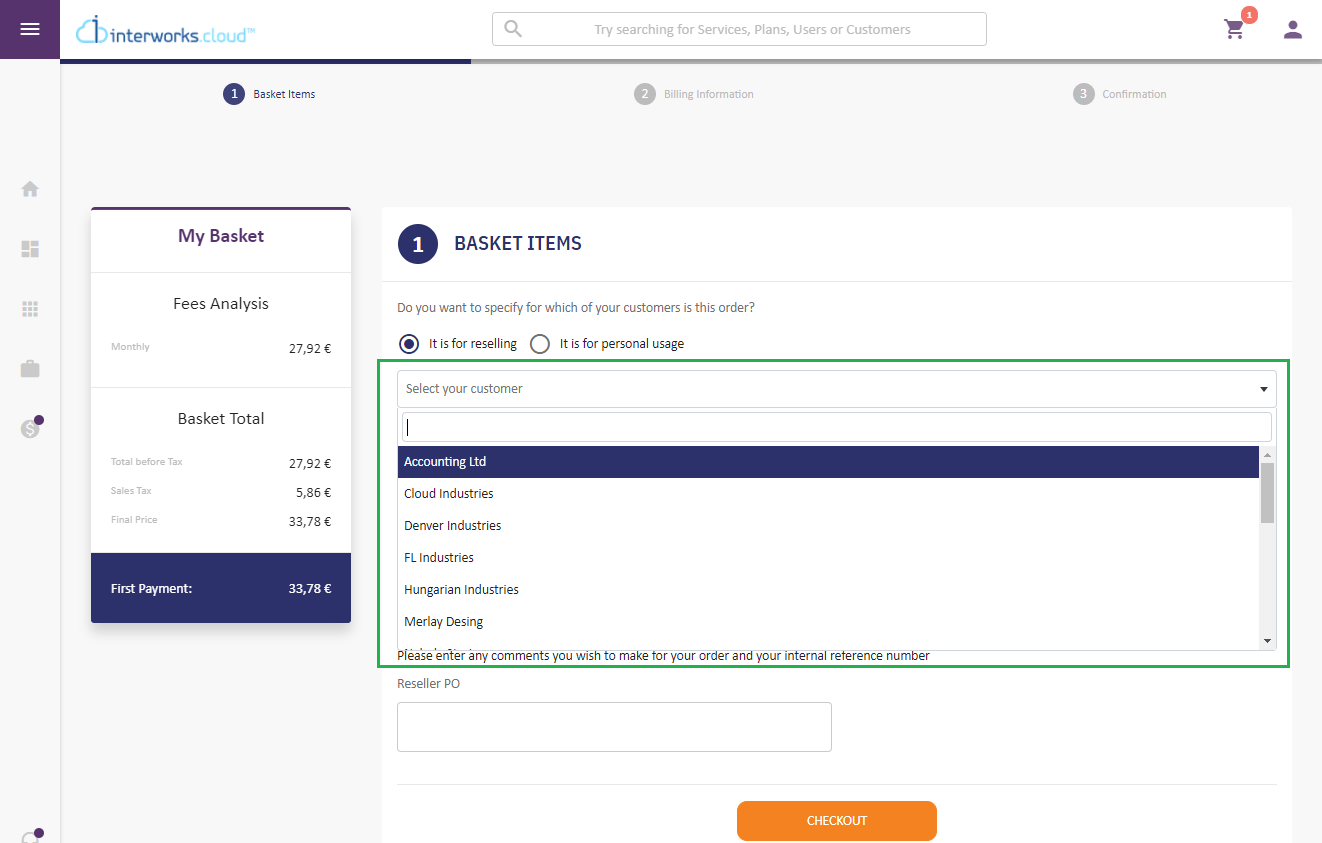
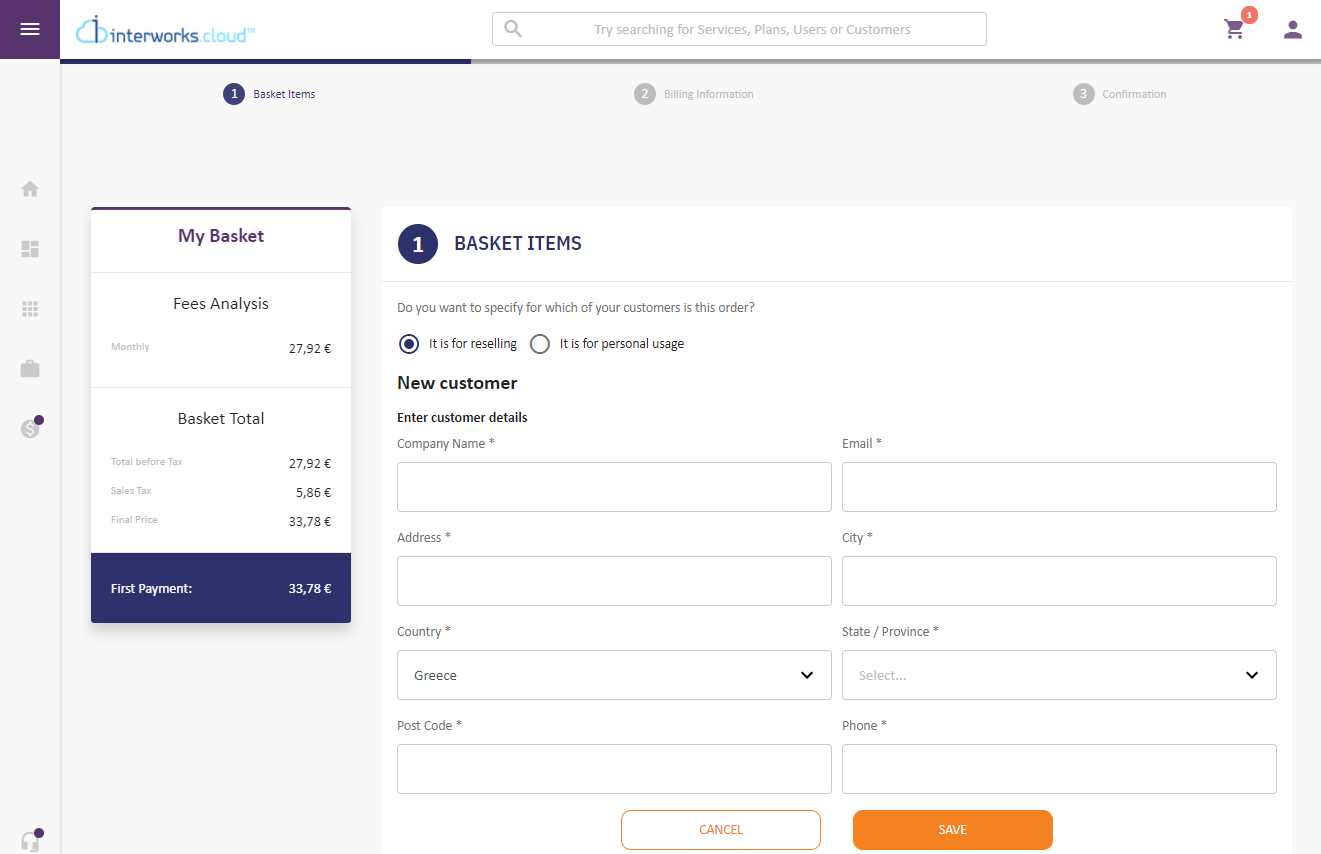
- If the order is placed for reselling to a new customer, then you can create a new customer by clicking the button '+ NEW CUSTOMER'. A new section with a form is displayed where you can fill in the respective details. After the completion of filling in the form with your customer's details, you have to 'SAVE' it and then proceed to 'CHECKOUT'.
- If the order is placed for reselling to an existing customer, then a field named Select your customer appears in which the reseller must choose the name of an existing customer from the pre-populated dropdown list of referenced customer names and then proceed to 'CHECKOUT'.
| Rw ui textbox macro | ||
|---|---|---|
| ||
Don't forget to enforce the reseller to enter a valid address for the end-customer. Microsoft requires a valid address for the end customer. For enforcing the reseller to enter a valid billing address, please follow the instructions described on the page Request a Valid Billing Address for the End Customers of your Resellers |
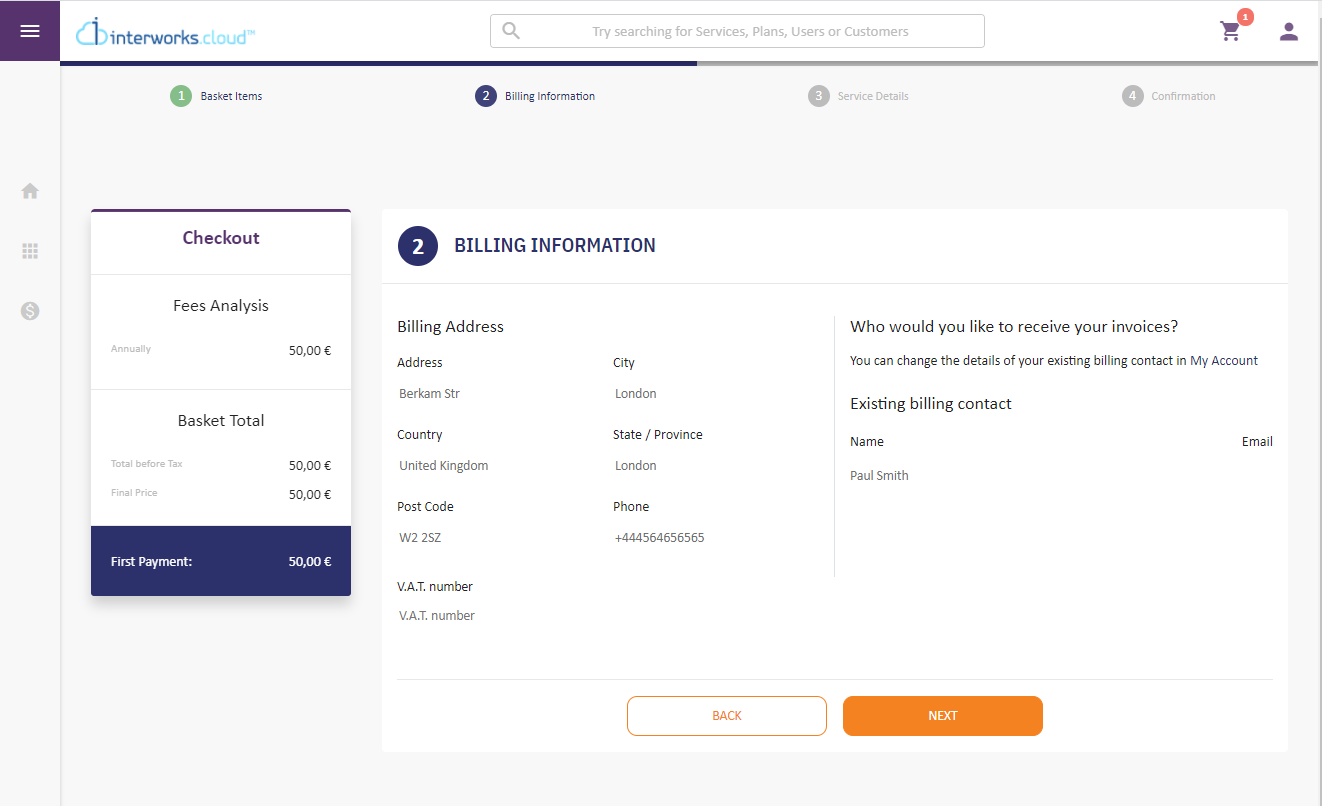
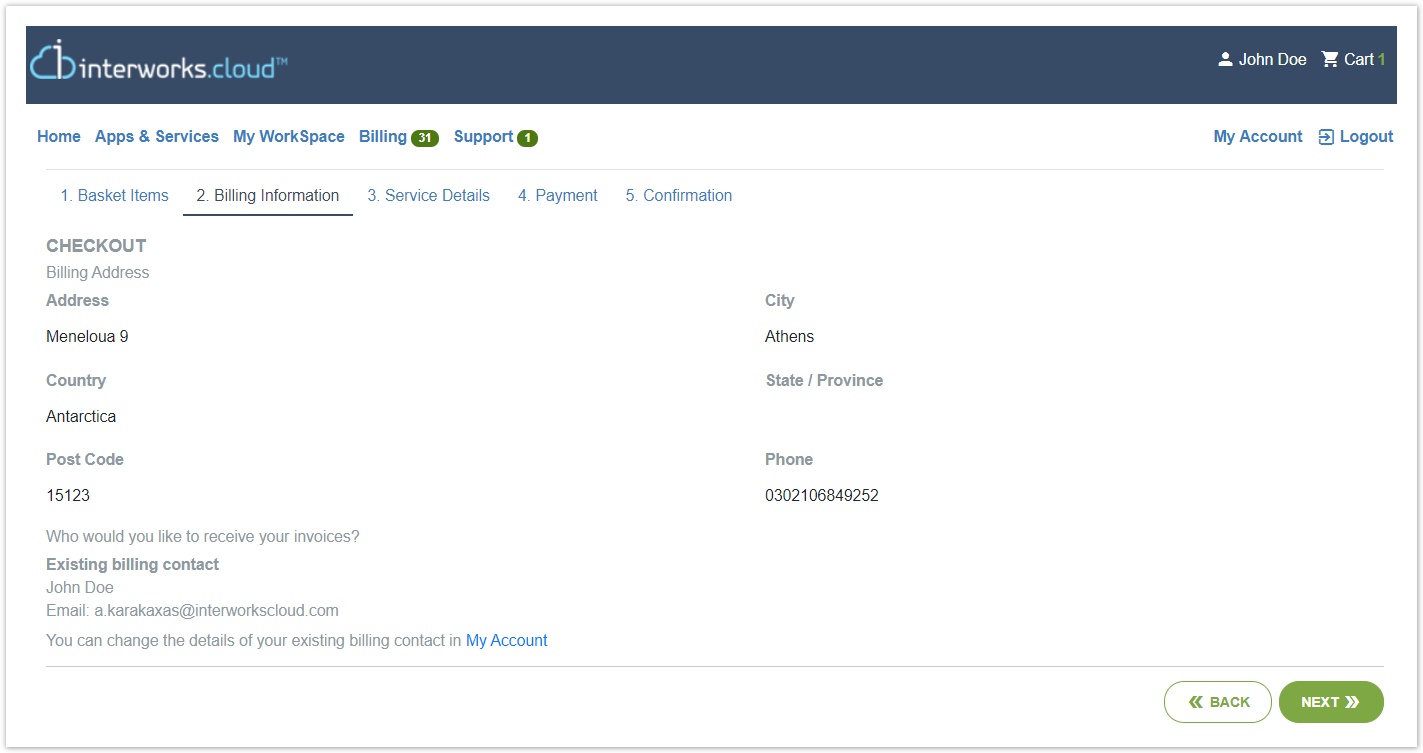
3. The 2nd step of the ordering process is the verification of the 'Billing Information', in which you can verify the details of the Billing Address as well as the billing contact for this order.
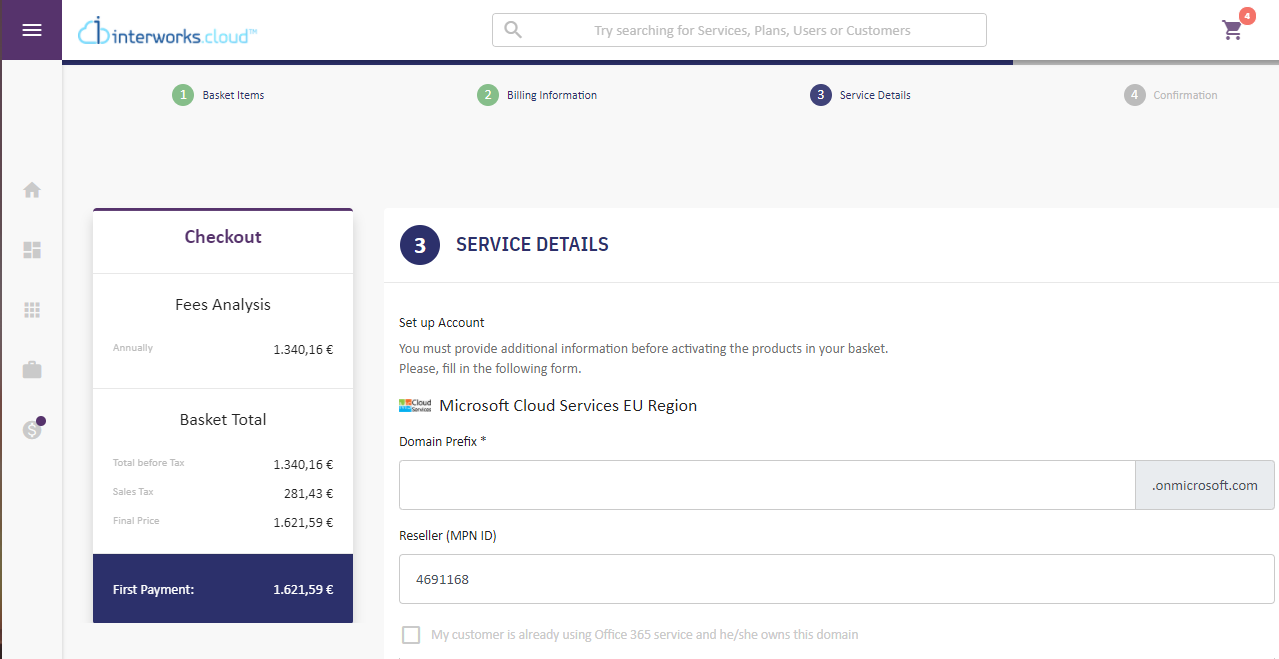
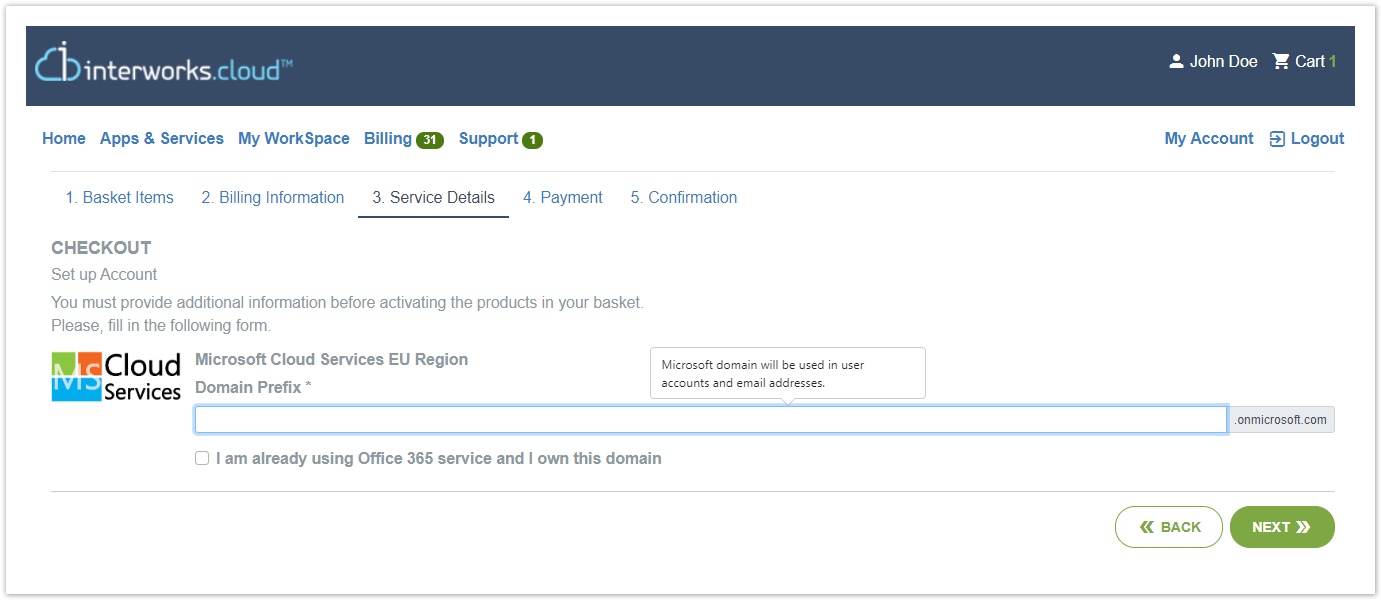
4. At the 3rd step of the ordering process, you will need to enter the customer's Microsoft Cloud Services details. Apart from the Domain that you will need to enter, you can also fill in your MPN ID so that the subscription is associated with you.
'Service Details' tab will be visible only if you order MS Cloud Services for the first time for a specific customer, even if he is an existing or a new one.
| Rw ui textbox macro | ||
|---|---|---|
| ||
Domain Prefix - Validation Please note that we conduct an audit against the domain prefix that is typed in the corresponding field, to determine whether it is already used by another Tenant under your CSP, as well as if it is already used by another Tenant under a different CSP, to prevent the failure of the Account's creation under the Microsoft Partner Center. If this domain prefix already exists in Microsoft under a different CSP, the following message will be displayed:
|
| Rw ui textbox macro | ||||
|---|---|---|---|---|
| To create
| |||
| Please note that when a new customer on MPC, is created as a Microsoft tenant on the interworks.cloud uses the Create a Customer API and adds the respective MPNID of the reseller for each subscription created by the new customer.platform, the tenant-reseller relationship is not created automatically. To create the relationship, the reseller must log in to the MPC and send the reseller relationship request to the new customer. The reseller can then view all of the customer’s subscriptions and assets. |
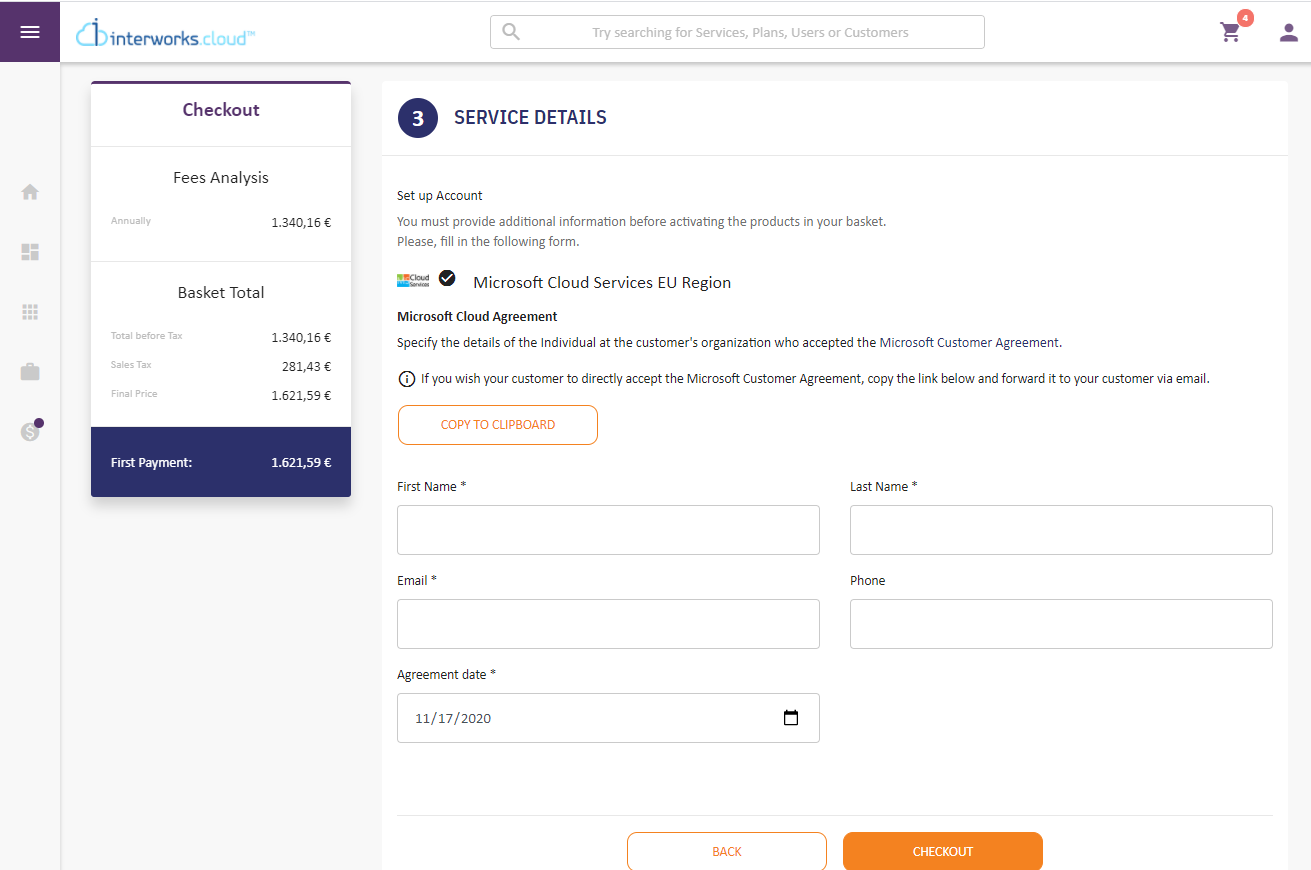
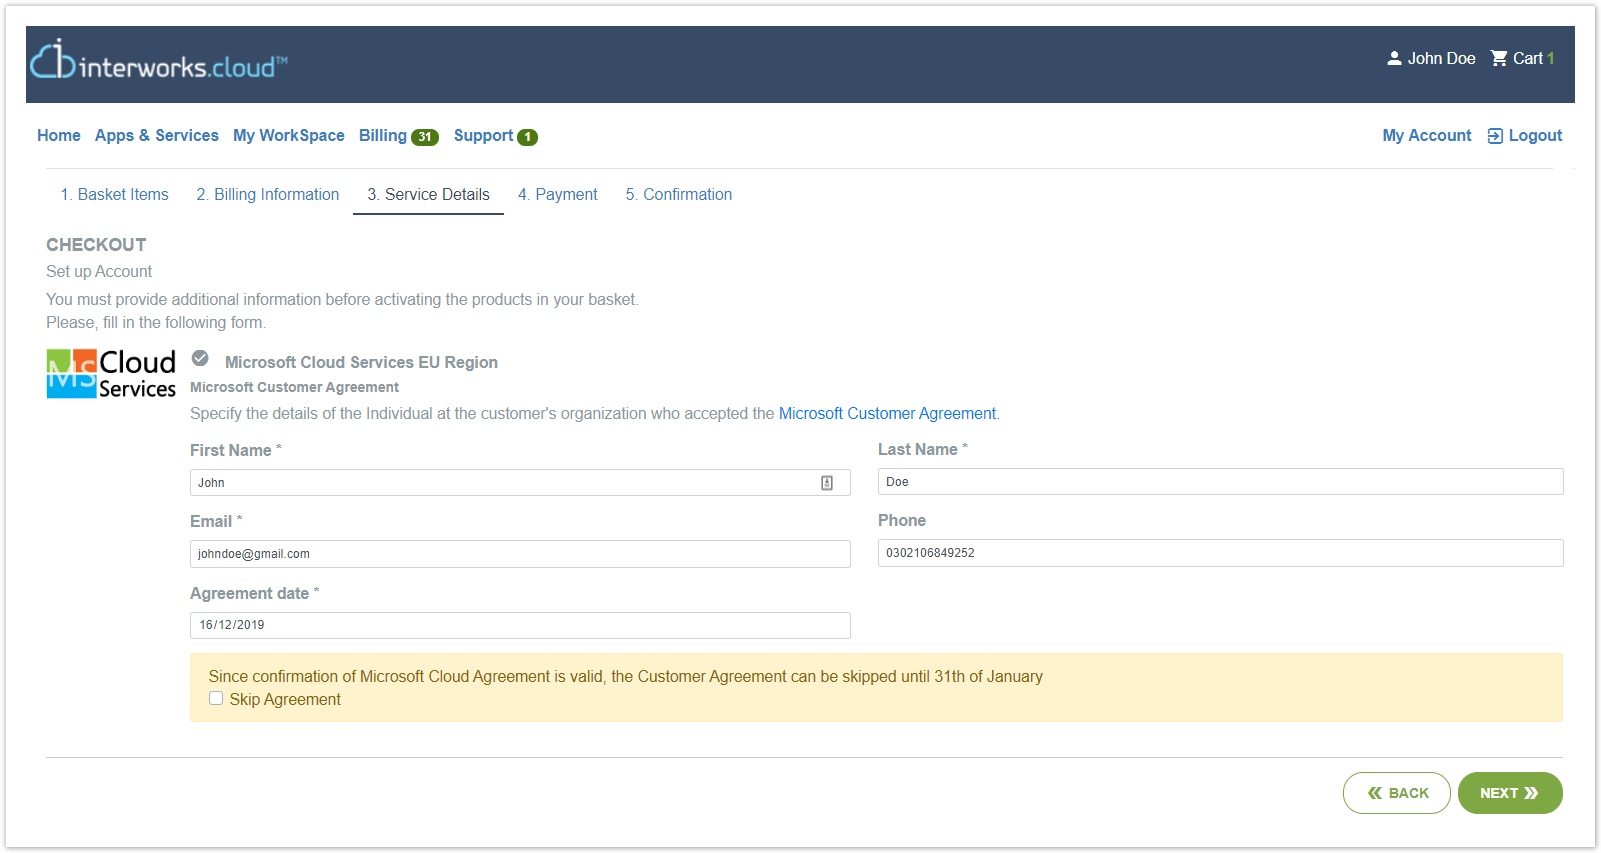
5. Also, at a later stage of the 3rd step of the ordering process, as partner of Microsoft, you need to obtain your customer’s acceptance of the Microsoft Customer Agreement (MCA) before you can order Microsoft products and services for that customer. This step is performed only once. An example of this part of the ordering process looks like this:
| Note |
|---|
Keep in mind that when you make the first order on a Microsoft Cloud Services offering, an email is dispatched carrying all the details for accessing the MS Cloud Services Portal, for managing the service. The email will be dispatched to the email address of the end customer that is filled at the previous step. In case you also provide managed services to your customers, you can fill in your email at the respective field so you receive this email. Also, regarding existing customers that have decided to purchase MS Cloud Services, you can change the default email of a customer to your own email so that you receive the notification via interworks.coud platform. A typical email looks like that:
Essentially, the text of the email can be altered according to your preference and its location is under the directory: BSS Setup → Administration → Notifications → Customer Notifications → Groups → Accounts → Welcome Office 365 customer. |
| Rw ui textbox macro | ||
|---|---|---|
| ||
If your customer is an existing Office 365 tenant, please check Ordering for an Existing Office 365 Tenant guide for more details. |
7. After completing the 3rd step, the ordering process is considered completed and the service(s) should now be provisioned to the end-customer.
Using the 'Manage Your Service' button you are routed to the 'My WorkSpace' section of the Marketplace to access the setup options for the service.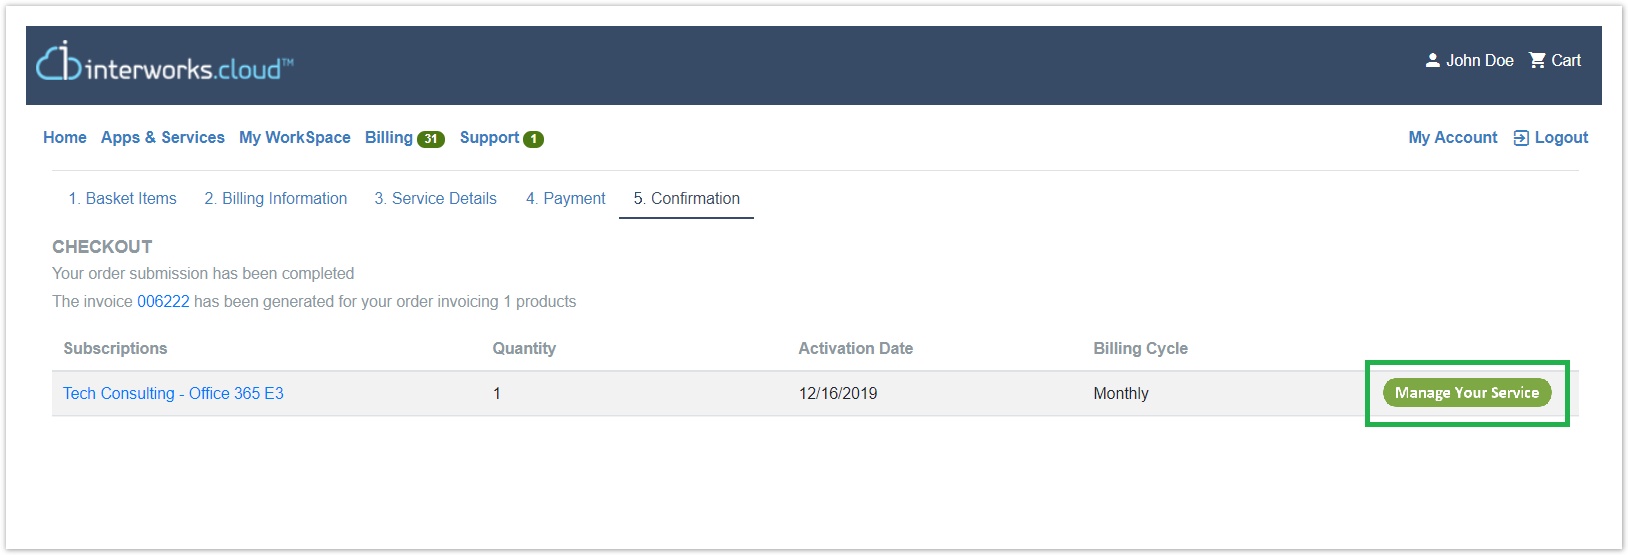
Ordering Process For Direct Customers
When a customer logs in the Storefront and proceeds to enter an order on his behalf; this will be the flow of the ordering process:
When you login at the Storefront and proceed to enter orders. Here's how that works:
- After logging into the Storefront, select an MS Cloud offering from the 'Apps & Services' section and click the 'PROCEED TO CHECKOUT' button.

By checking the check-box of an add-on, located at the beginning of its row, you can select it for purchase in the desired quantity. - In the 1st step of the ordering process called 'Basket Items', you have an inspection overview of the service(s) to be ordered prior to proceeding to 'CHECKOUT'.
- The 2nd step of the ordering process is the verification of the 'Billing Information', in which you can verify the details of the Billing Address as well as the billing contact for this order.
At the 3rd step of the ordering process, you will need to enter your Microsoft Cloud Services details. 'Service Details' tab will be visible only if you order MS Cloud Services for the first time.
Rw ui textbox macro type note Domain Prefix - Validation
Please note that we conduct an audit against the domain prefix that is typed in the corresponding field, to determine whether it is already used by another Tenant under your CSP, as well as if it is already used by another Tenant under a different CSP, to prevent the failure of the Account's creation under the Microsoft Partner Center.
If this domain prefix already exists in Microsoft under a different CSP, the following message will be displayed:

The Account will not fail but it will remain unsynced and you can either proceed with authorization or add a new domain and retry, as per the message's instructions.Rw ui textbox macro type note When a new customer is created as a Microsoft tenant on the interworks.cloud platform, the tenant-reseller relationship is not created automatically.
To create the relationship, the reseller must log in to the MPC and send the reseller relationship request to the new customer. The reseller can then view all of the customer’s subscriptions and assets.Also, at a later stage of the 3rd step of the ordering process, as partner of Microsoft, you need to provide your acceptance of the Microsoft Customer Agreement (MCA) before you can order Microsoft products and services for yourself. This step is performed only once. An example of this part of the ordering process looks like this:
After the acceptance of the Microsoft Customer Agreement (MCA), you are lead to the 4th step of the ordering process called 'Payment' in which, depending on the payment options available as well as the customer's desired payment option, the relevant page will appear. At the example provided below a customer desires to be billed via an online payment gateway (method) using a credit card. The below image represents exactly that.
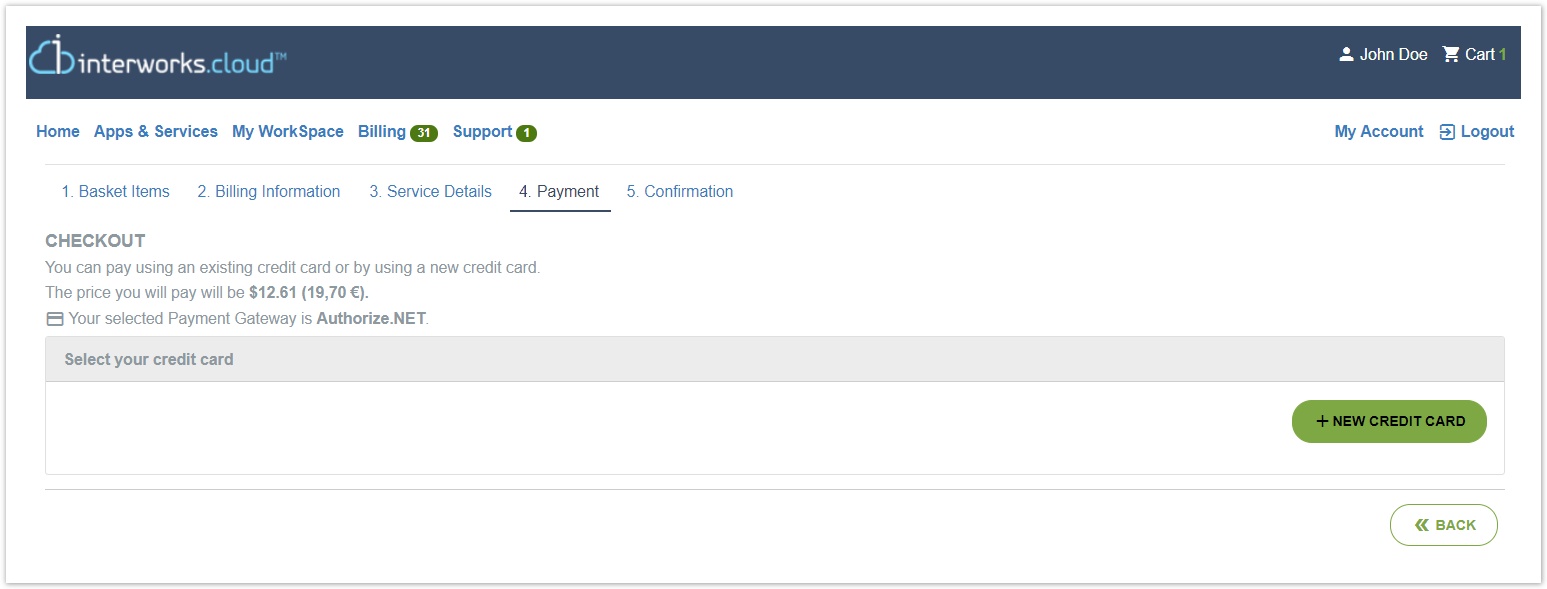
Here, you need to click the '+NEW CREDIT CARD' button and provide the credit card information necessary for the continuation of the ordering process and provisioning of the service.
Note Keep in mind that when you make the first order on a Microsoft Cloud Services offering, an email is dispatched carrying all the details for accessing the MS Cloud Services Portal, for managing the service. The email will be dispatched to the email address that you filled during registration.
A typical email looks like that:
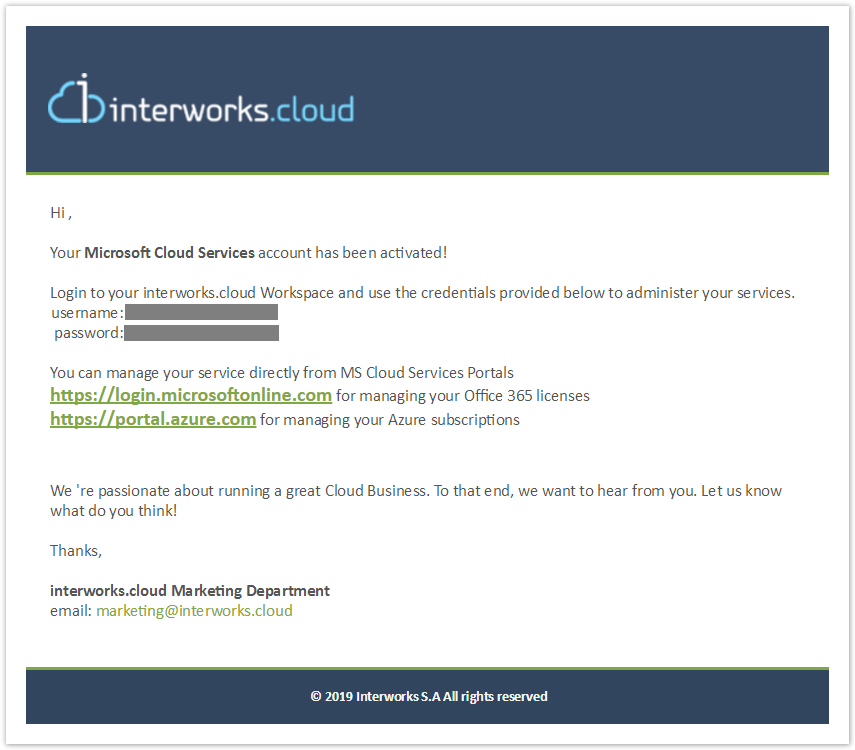
Essentially, the text of the email can be altered according to your preference and its location is under the directory: BSS Setup → Administration → Notifications → Customer Notifications → Groups → Accounts → Welcome Office 365 customer.
Rw ui textbox macro type info If you are an existing Office 365 tenant, check Ordering for an Existing Office 365 Tenant guide for more details.
After the completion of the 4th step of 'Payment', the ordering process is considered completed and the service(s) should now be provisioned to you.
Using the 'Manage Your Service' button you are routed to the 'My WorkSpace' section of the Marketplace to access the setup options for the service.
Table of Contents
| Table of Contents | ||
|---|---|---|
|