Authorization Header
NetSuite uses a custom authorization header in order to authenticate 3rd party applications. NLAuth header should include a valid company id, valid username/password, an Active Role, and a Token Based Authentication.
NetSuite User
An active user is needed in order to integrate with NetSuite API. The user can be an existing one, or a new user created for this specific reason.
This user's email and password will be used in the NLAuth header.
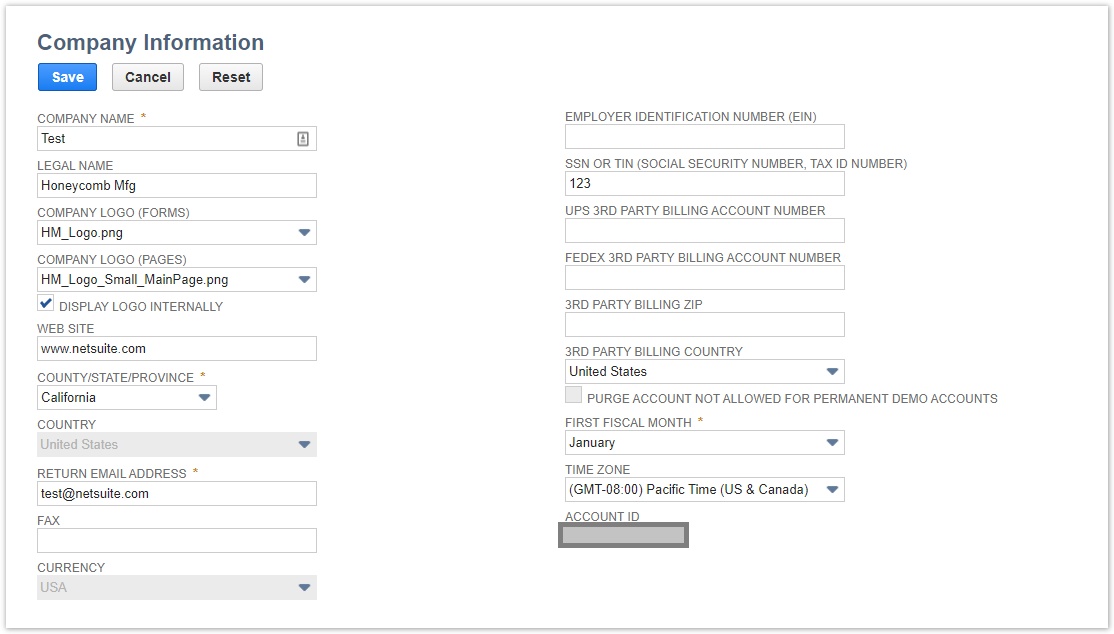
CompanyId
To find your company id navigate to Setup > Company > Company Information. The account id is the company id that will be used for authentication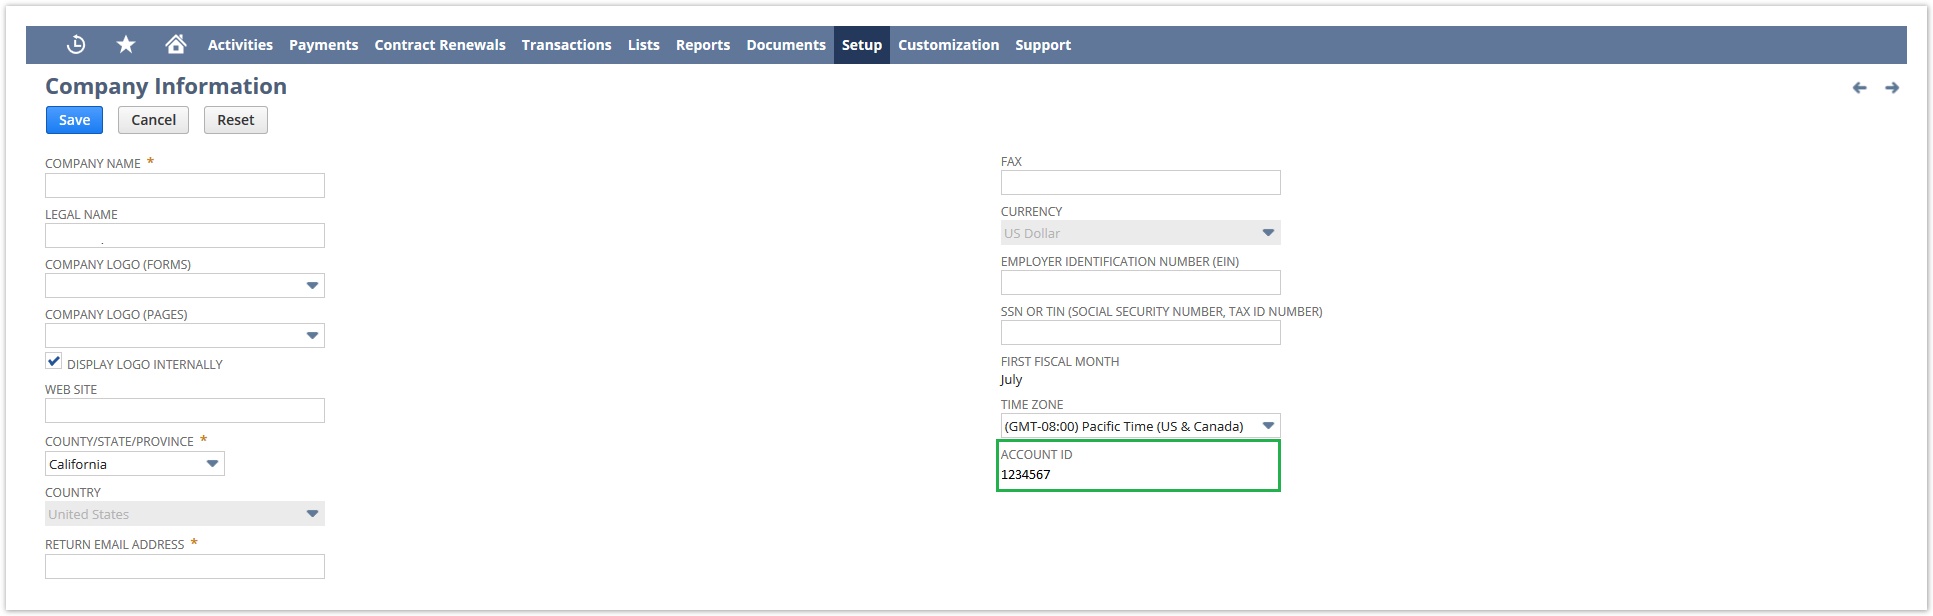
REST Web Services and OAuth 2.0 Feature
To enable the Rest Web Services, navigate to Setup > Company > Enable features.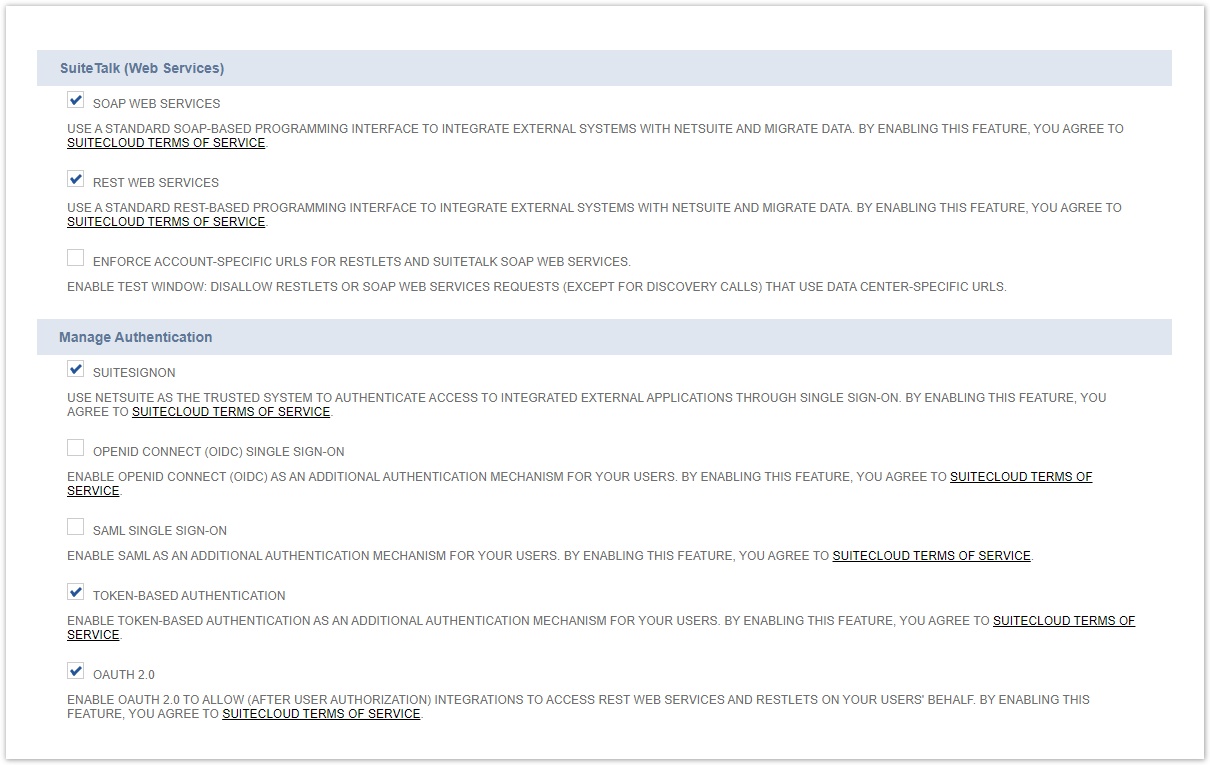
Select the SuiteCloud sub-tab.
Enable the checkbox REST WEB SERVICES in the SuiteTalk (Web Services) section. (To use the feature, you must accept the SuiteCloud Terms of Service)
Enable the checkbox OAUTH 2.0 in the Manage Authentication section.
Save the changes.
SuiteAnalytics Workbook feature
To enable the SuiteAnalytics Workbook feature, navigate to Setup > Company > Enable features..png?version=1&modificationDate=1618841042281&cacheVersion=1&api=v2&effects=border-simple%2Cblur-border&width=800&height=382)
Select the Analytics sub-tab.
Enable the checkbox SUITEANALYTICS WORKBOOK.
Save the changes.
RoleId
In order for the internal script to be executed by a user, a valid role should be assigned to this user. The role can be an existing one but it would be wise for logging and security reasons, to create a new Role solely for Integration Framework.
To create a new Role navigate to Setup > Users/Roles > User Management > Manage Roles > New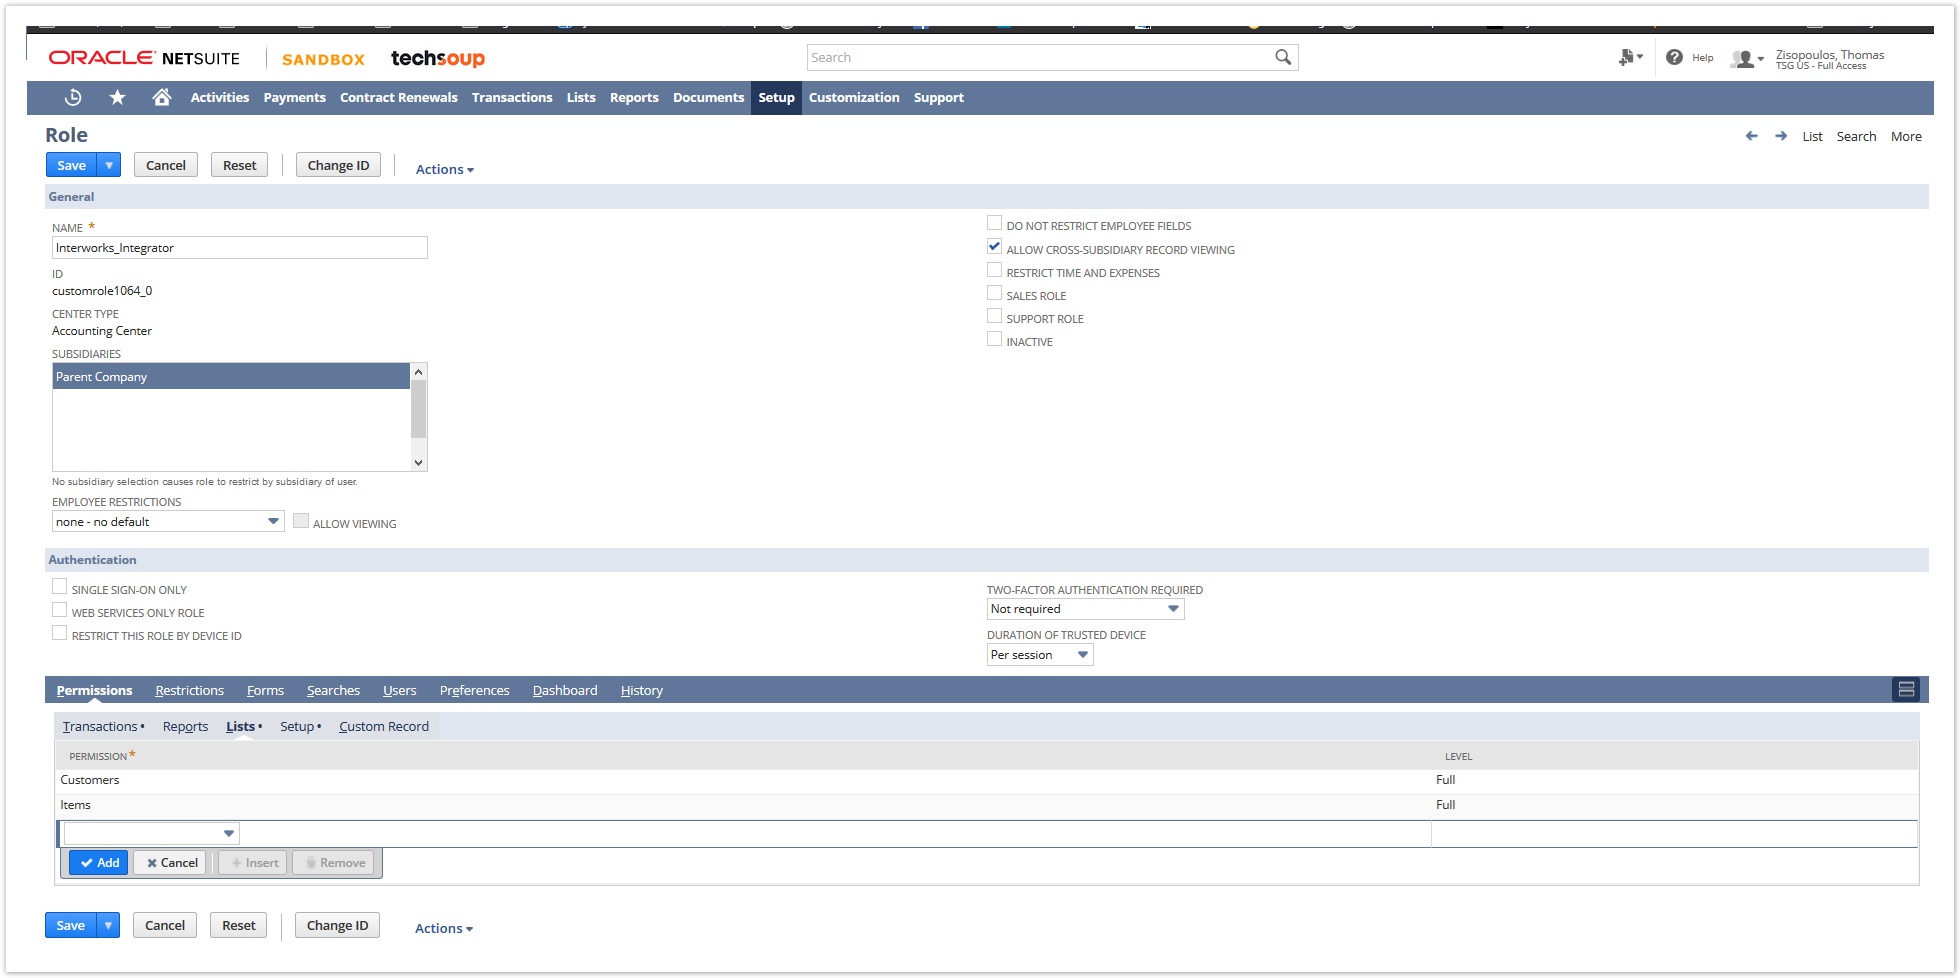
On the permission tab, the following are needed with Full access at minimum for the integration to work with the supported push/pull methods.
| Transactions | Lists | |
|---|---|---|
| Customer Payment | Customers | |
| Invoice | Items |
If you wish to assign the Required Permissions to an existing User’s Role, please do the following actions:
Go to Setup > Users/Roles > User Management > Manage Roles.
Locate the role you want to modify. Click the Edit or Customize link.
On the Permissions sub-tab, click on Setup.
In the "Permission" list, select REST Web Services and set the Level as Full.
Select Log in using Access Tokens and set the Level as Full.
On the Permissions sub-tab, click on Reports.
Select SuiteAnalytics Workbook and set the Level as Full.
Save the changes.
NetSuite provides an account-specific domain, which contains the account ID as part of the domain name to access REST Web Services. You can find the service URL at Setup > Company > Company Information, on the Company URLs sub-tab.

The SuiteTalk (SOAP and REST web services) URL is required to be provided when communicating with client applications.
Configure Authentication
To use REST Web Services with OAuth 2.0, you must create an application using an integration record that provides the Client ID and Client Secret. To do so, navigate to Setup > Integration > Manage Integrations > New.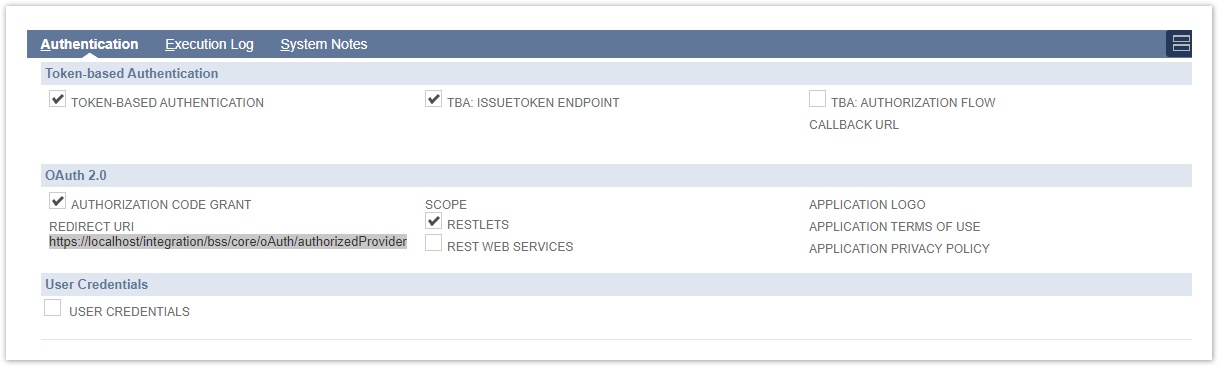
Enter a name for your application in the Name field.
Select Enabled in the State field.
On the Authentication tab, enable the checkbox AUTHORIZATION CODE GRANT under OAuth 2.0 subtab.
Enter the valid Redirect URI. For this specific example, we used localhost “https://localhost/integration/bss/core/oAuth/authorizedProvider”. IMPORTANT: Note that the REDIRECT URI should use an HTTPS protocol. Also, the Redirect URI is case sensitive (for example if it contains "oauth" instead of "oAuth" it will not work)!
Enable the checkbox Restlets.
Save the changes.
Authorization Code Grant Flow
In order to achieve authorization we will need the below URLs:
authorizationUrl: https://<AccountId>.app.netsuite.com/app/login/oauth2/authorize.nl
tokenUrl: https://<AccountId>.suitetalk.api.netsuite.com/services/rest/auth/oauth2/v1/token
The <AccountId> can be located under the Setup > Company > Company Information.
Integration Schema
For setting up the integration schema, you can navigate to BSS > System Options > Systems Setup > Integration Systems > Edit Integration.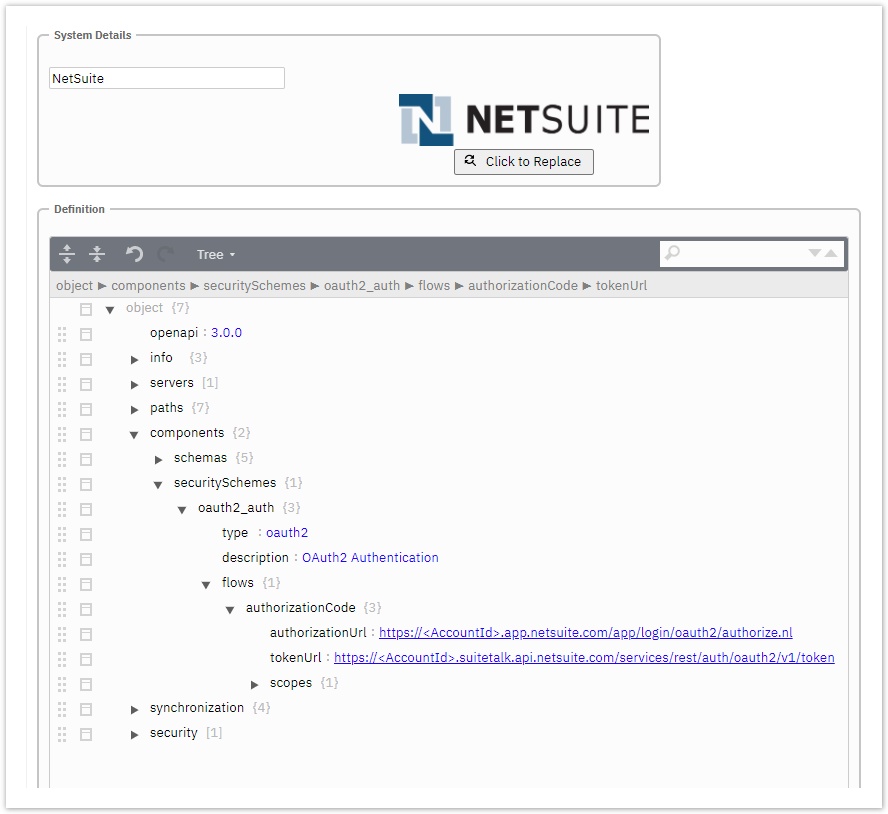
Then locate the Definition section.
Go to object > components > securitySchemas > oauth2_auth > flows > authorizationCode.
Replace the <AccountId> with your account id e.g. tatdrg1234567.
Save the changes.
Afterwards, navigate to BSS > System Options > Systems Setup > Integration Systems > Settings.
Then locate the OAuth2 Authentication (OAuth2, authorizationCode) section and insert the ClientId and ClientSecret that you have saved in the "Configure Authentication" step of this page.
Click the Authorize button.
In the URL, you should be able to see the data provided.
Where <AccountId> is your NetSuite Account Id, and the <ClientId> is the Client Id that you have saved in the "Configure Authentication" step. The URL contains also the REDIRECT URI you provided in the "Configure Authentication" step, as well as the scope, the response type, and the state.
https://<AccountId>
.app.netsuite.com/app/login/oauth2/authorize.nl?
client_id=<ClientId>
&scope=restlets
&redirect_uri=https://localhost/integration/bss/core/oAuth/authorizedProvider
&response_type=code
&state=3b88c991-3dbc-4a74-a198-ad0200de303d
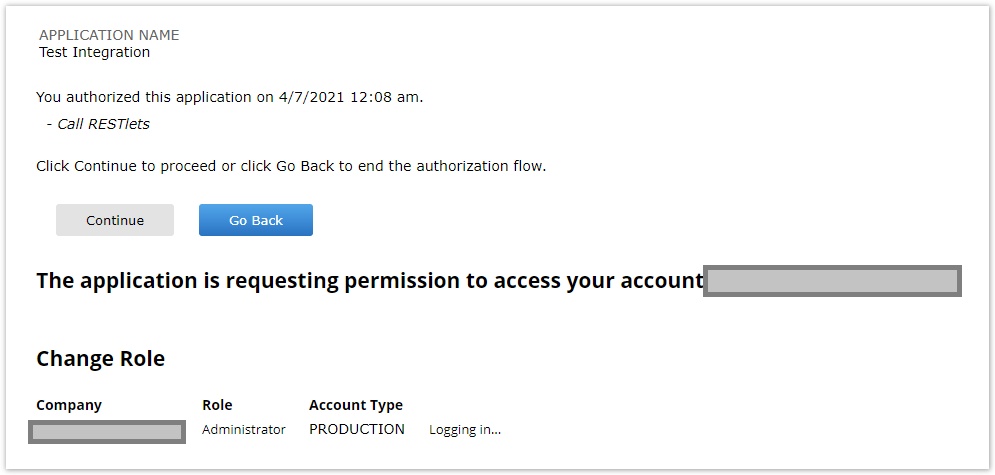
Click on the Continue button.
If the authentication succeeds you will be re-directed back to Settings page.
Click on the Check Authorization button.