Registering the Odix Service Manager
Registering the odix Connector Application
For registering the odix application in your BSS you must do the following:
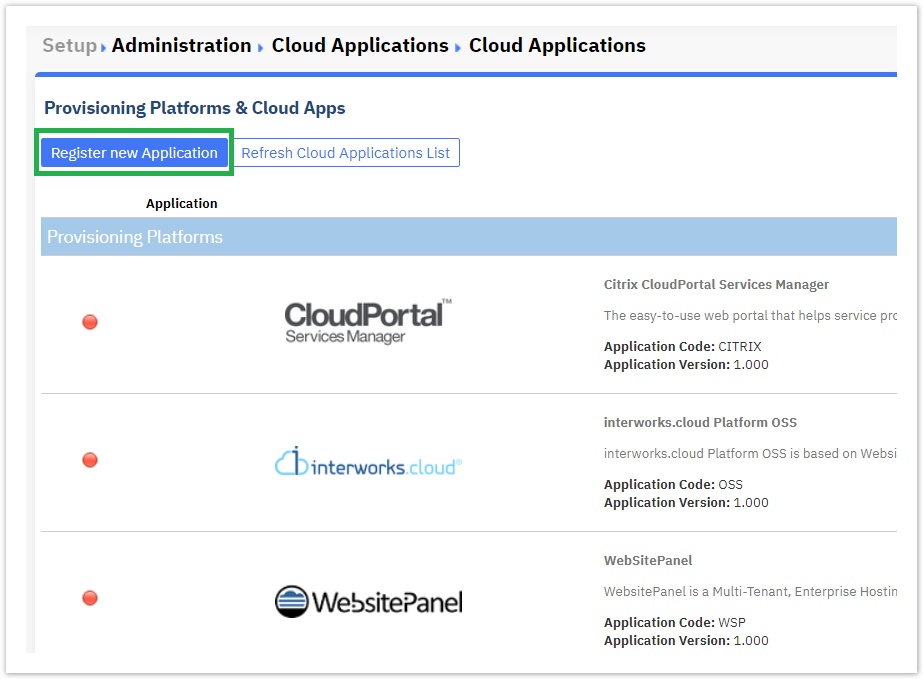
- Navigate to BSS > Setup > System Options > Applications Setup
- Select "Register New Application"
- The new application registration page will be displayed and you must select the following:
- "Application name" and "Description": odix Service Manager.
- "Enable Accounts Management" must be checked.
- "Enable Subscriptions Management" must be checked.
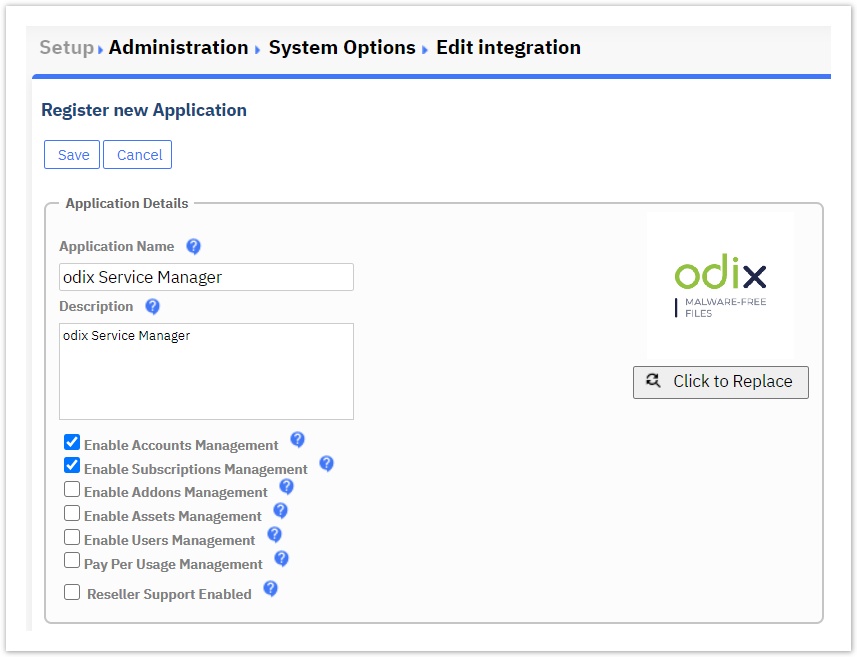
- Save the new application.
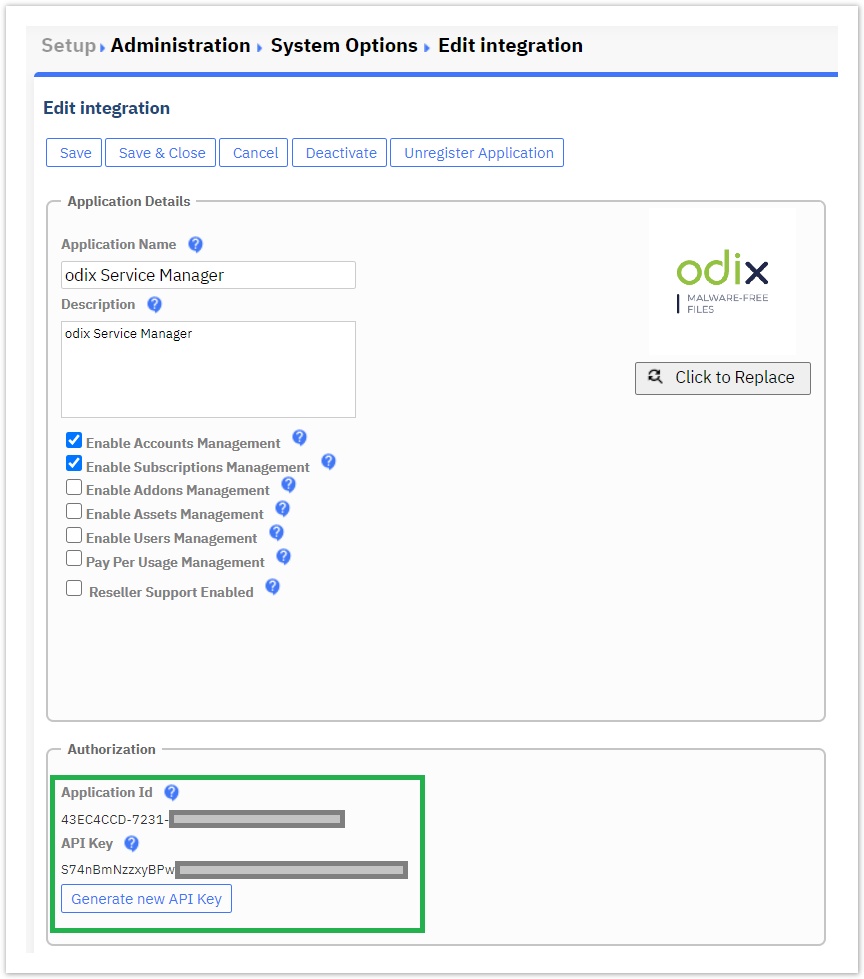
The save action generates the "Application Id" and "API key" values that are specific for your installation. These keys are available on the registration page.
- Add in the authentication section the below URLs:
"Subscription Create URL"
"Subscription Update URL"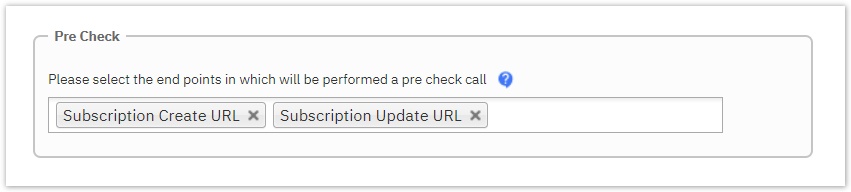
Define the endpoints.
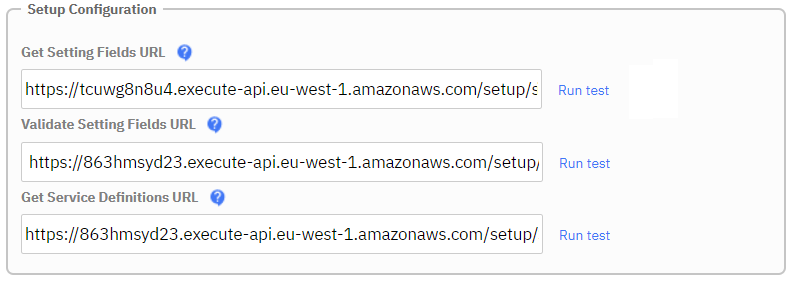
Setup Configuration endpoints Getting Settings Fields: [BASE URL]/setup/settings
Validate Setting Fields: [BASE URL]/setup/settings
Get Service Definitions: [BASE URL]/setup/ServiceDefinitions
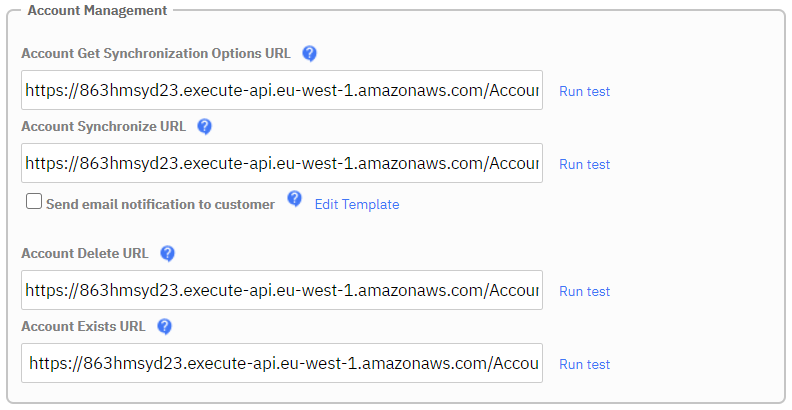
Account Management endpoints Account Get Synchronization Options: [BASE URL]/account/sync
Account Synchronize: [BASE URL]/account/sync
Account Delete: [BASE URL]/account/Delete
Account Exists: [BASE URL]/account/Exists
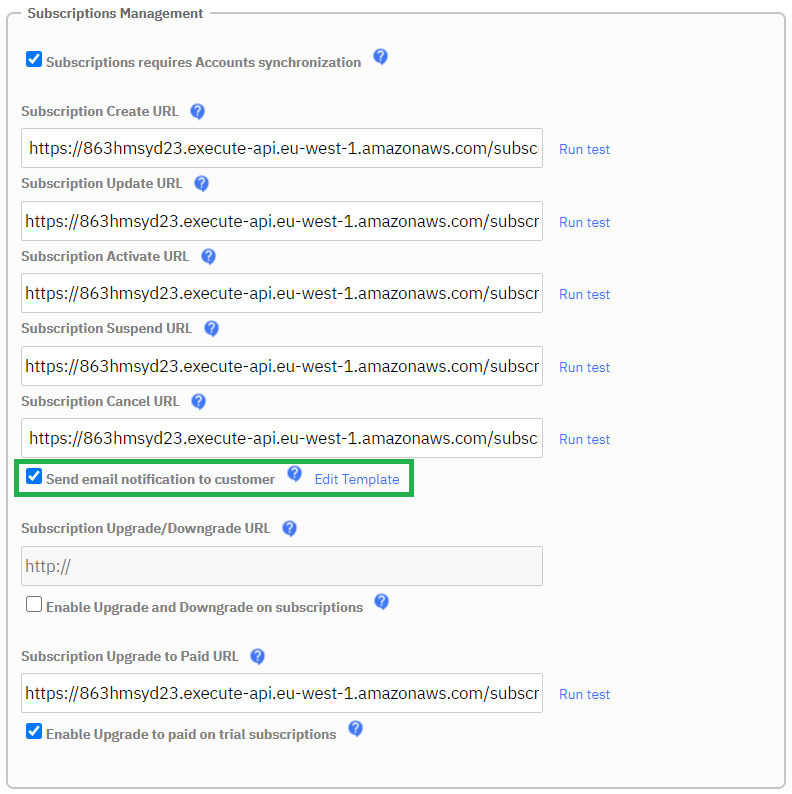
Subscriptions Management endpoints Subscription Create: [BASE URL]/subscriptions/create
Subscription Update: [BASE URL]/subscriptions/update
Subscription Activate: [BASE URL]/subscriptions/activate
Subscription Suspend: [BASE URL]/subscriptions/suspend
Subscription Cancel: [BASE URL]/subscriptions/cancel
Subscription Update to Paid: [BASE URL]/subscriptions/UpgradeToPaid
The following checkboxes need to be enabled:
- "Subscriptions requires Accounts synchronization".
- "Send email notification to customer".*
- "Enable Upgrade to paid on trial subscriptions".
* Next to the second checkbox "Send email notification to customer" that must be enabled, you can edit the template of the welcome email notification named "Welcome Odix Malware customer" that our system dispatches after an odix order. For more information continue to the page section that follows.
Save the edit page
The odix application service manager is now registered in your BSS and you can activate it by following the instructions described in the "Activating the Integration with odix" page.
Setting a Welcoming Email Notification
Since the Welcome Email Notification is automatically created from the odix integration, when the "Send email notification to customer" checkbox becomes enabled, the distributor can rebrand it by clicking on the "Edit Template" hyperlink option, which redirects him to the email's template page. Another way to access the notification is by navigating to BSS Setup >Administration > Notifications > Customer Notification Details > Subscriptions and click on the system notification that writes "Welcome Odix Malware customer". That welcome email greets the user for whom the order was placed, while at the same time it provides him with an activation link that redirects him to the Microsoft's consent page where he should agree to the activation of the service's subscription and then be redirected to the FileWall admin console page in order to manage his odix license(s).
The email content looks similar to the following screenshot. 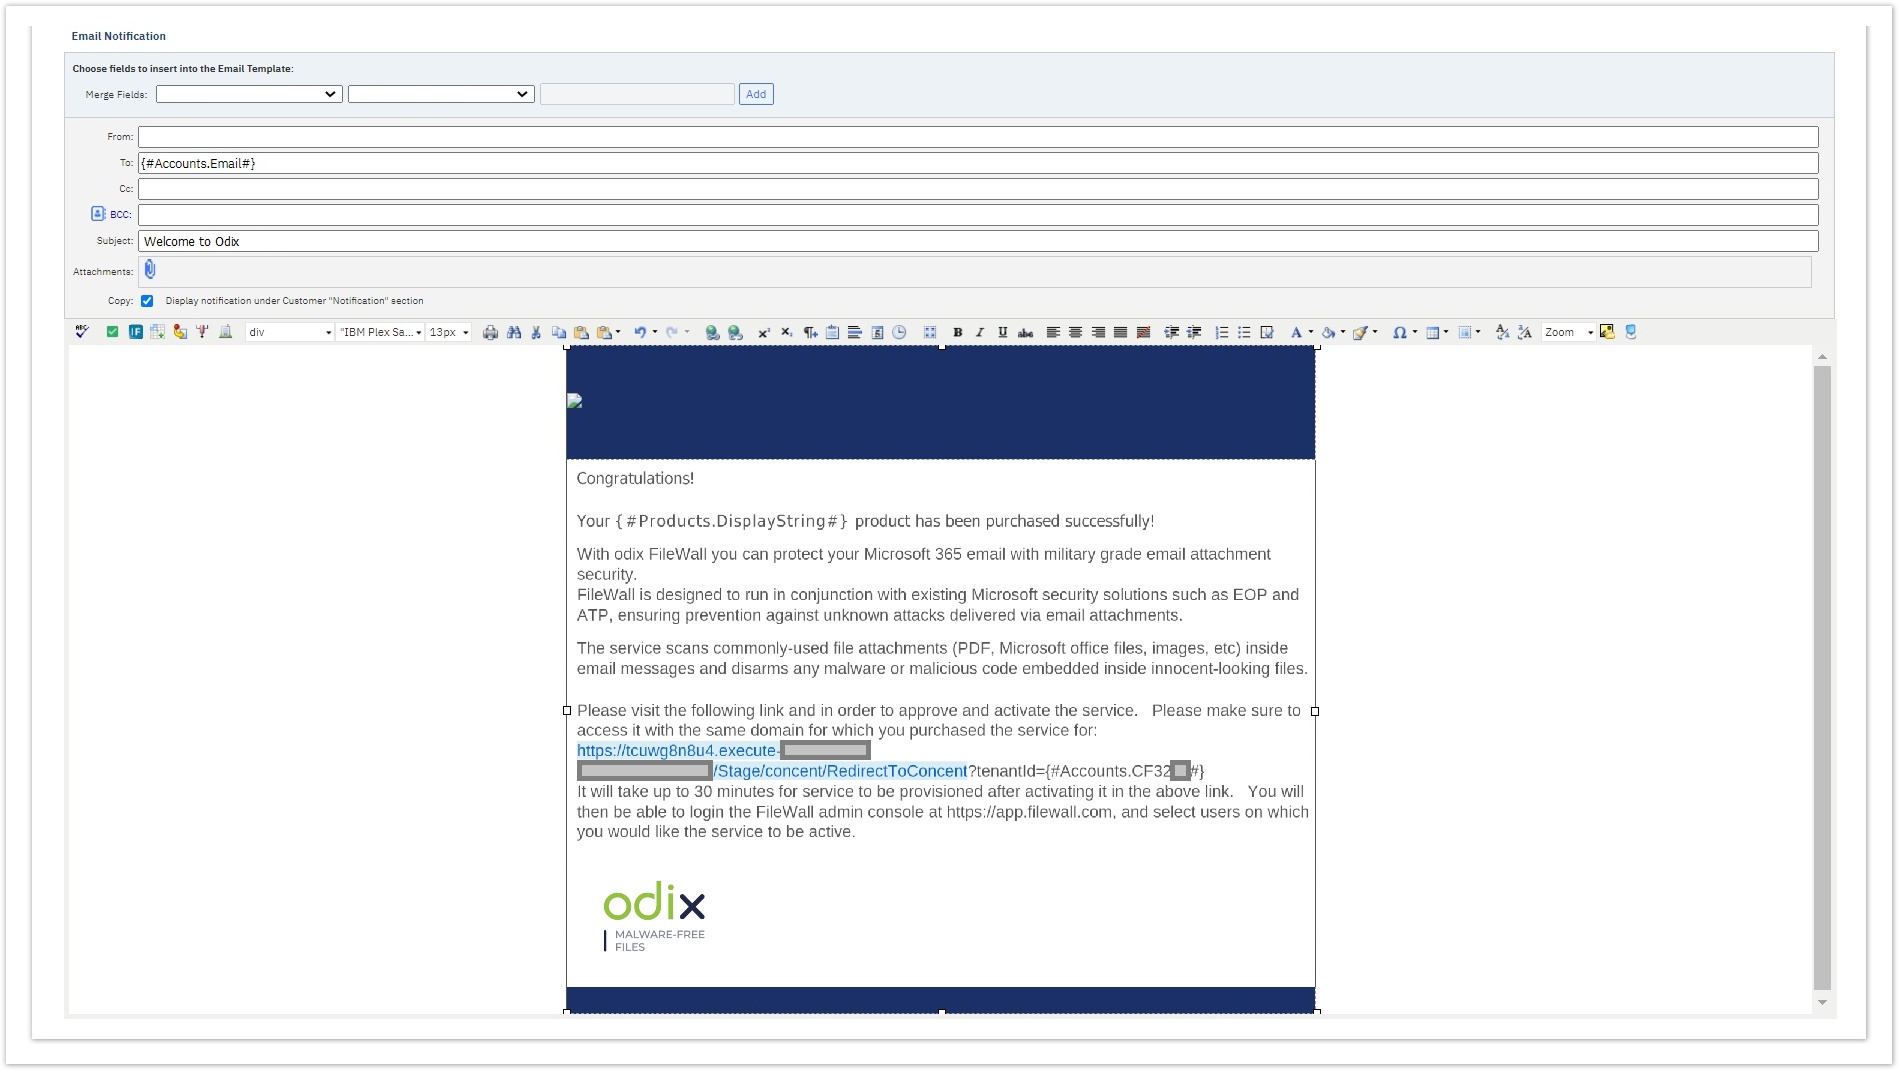
Please make sure that the notification includes at least the following system parameters in the email body: The customer's BSS account name, the "Products.DisplayString", and the consent link of the purchased service.
Updating the Registration Settings
You can always update the registration settings of odix service manager from the "Edit Integration" button in "Cloud Applications" section.
