Activating the Odix Service Manager
The second step to employ odix solutions to an interworks.cloud instance is to activate the odix Service Manager. This action will enable the necessary components in interworks.cloud platform so that you can then import the available odix SKU's and configure the presentation layer in the form of an odix Product Group. You can see how, by reading the following instructions.
Getting the Odix API Credentials
It is assumed that there is a standing agreement with odix and that odix has provided the necessary token and base URLs for the odix API.
Configuring Odix API Access on BSS
To configure the odix integration instance, please proceed with the following steps.
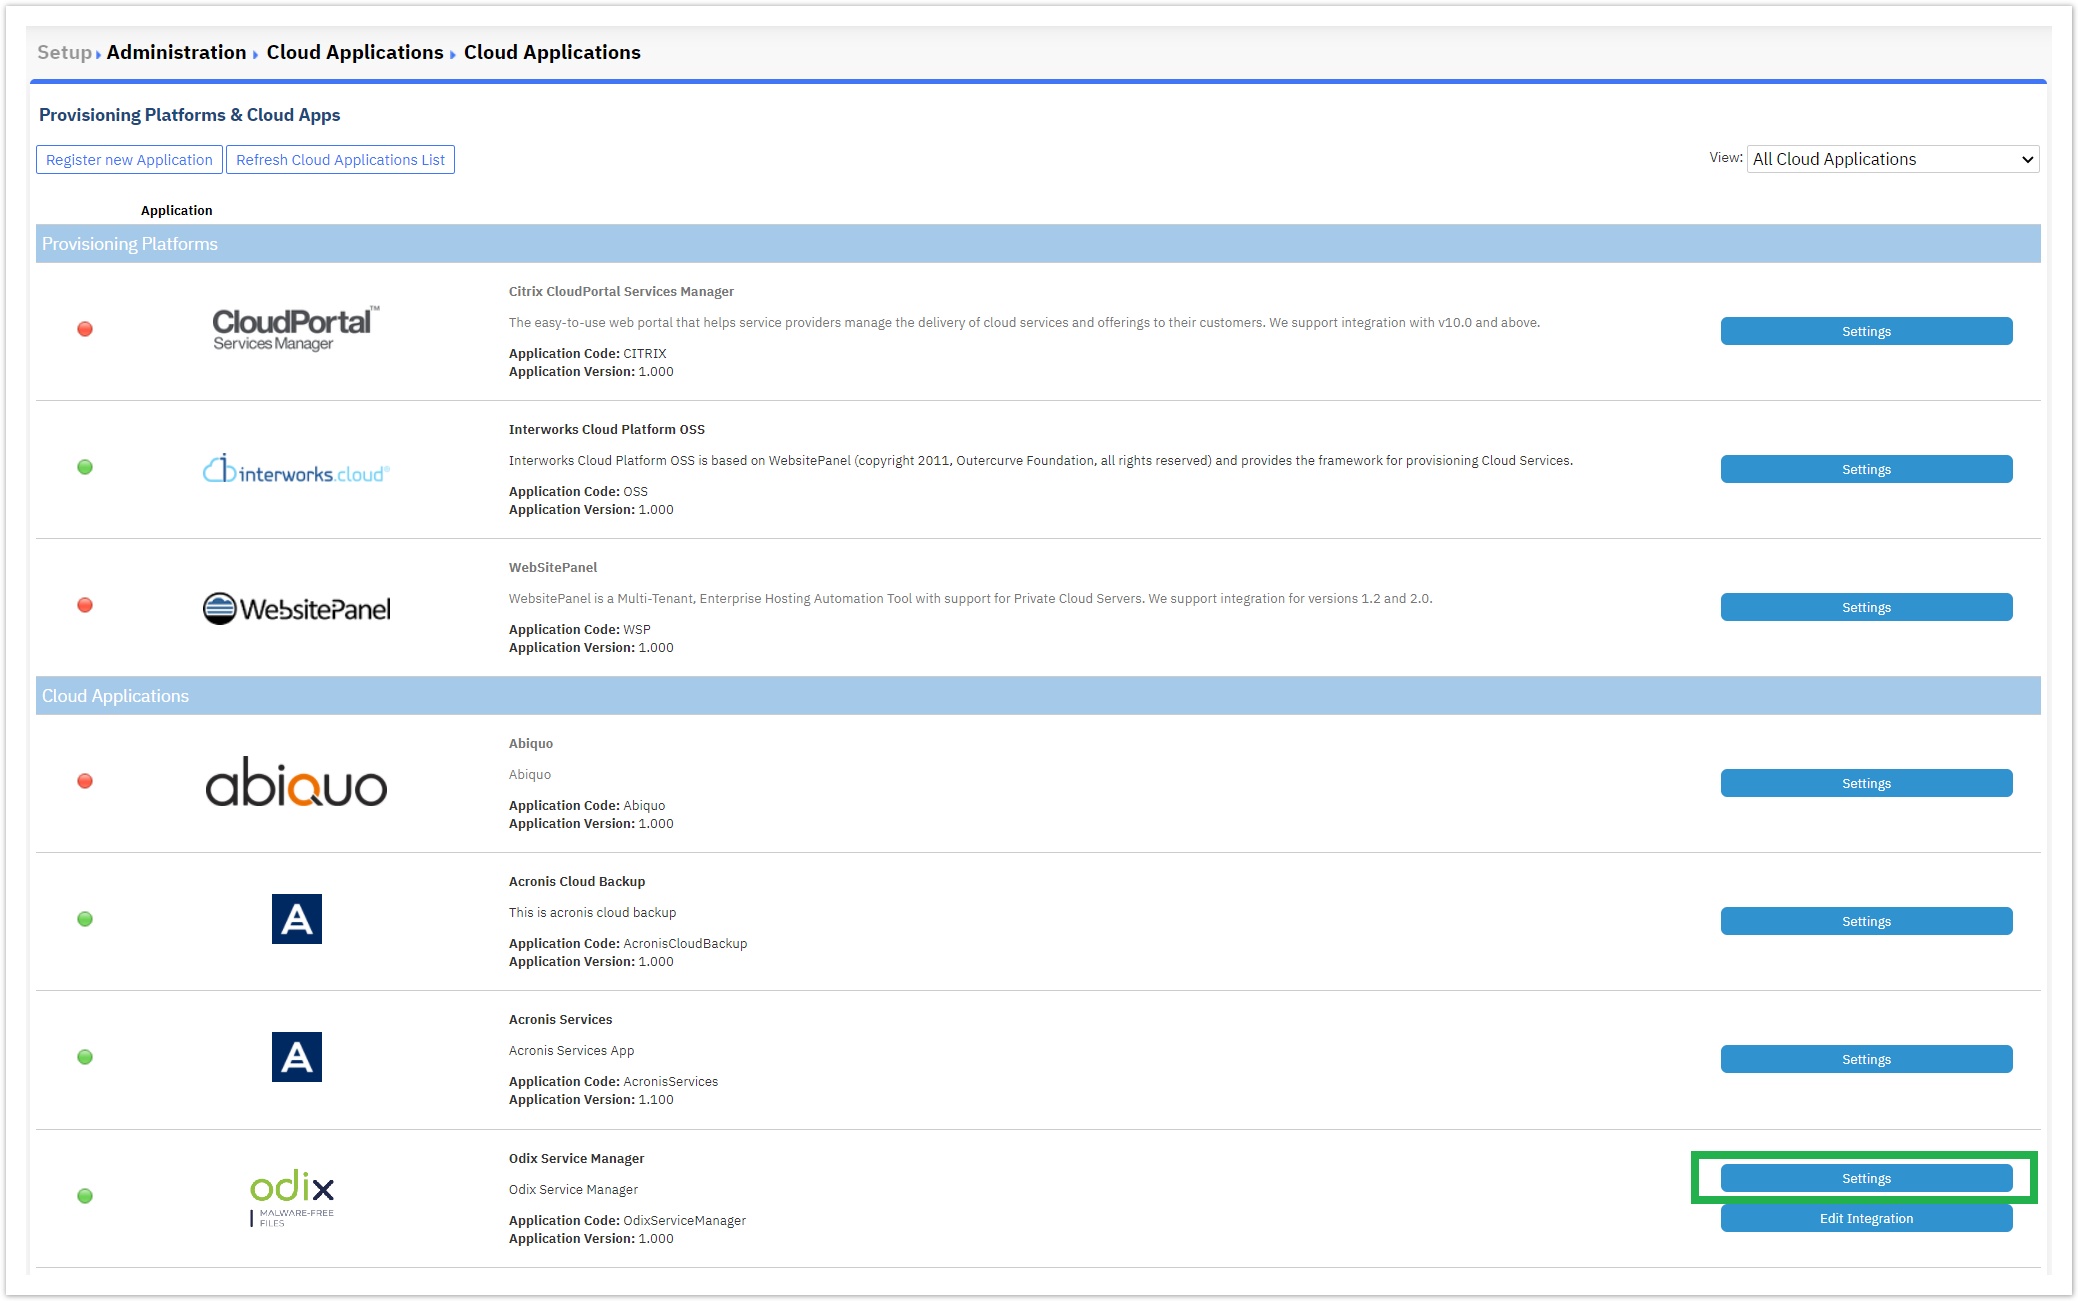
- Navigate to BSS Setup > Administration > System Options > Applications Setup > odix Services > Settings.
- There are some simple attributes there, that define the connection to the odix API:

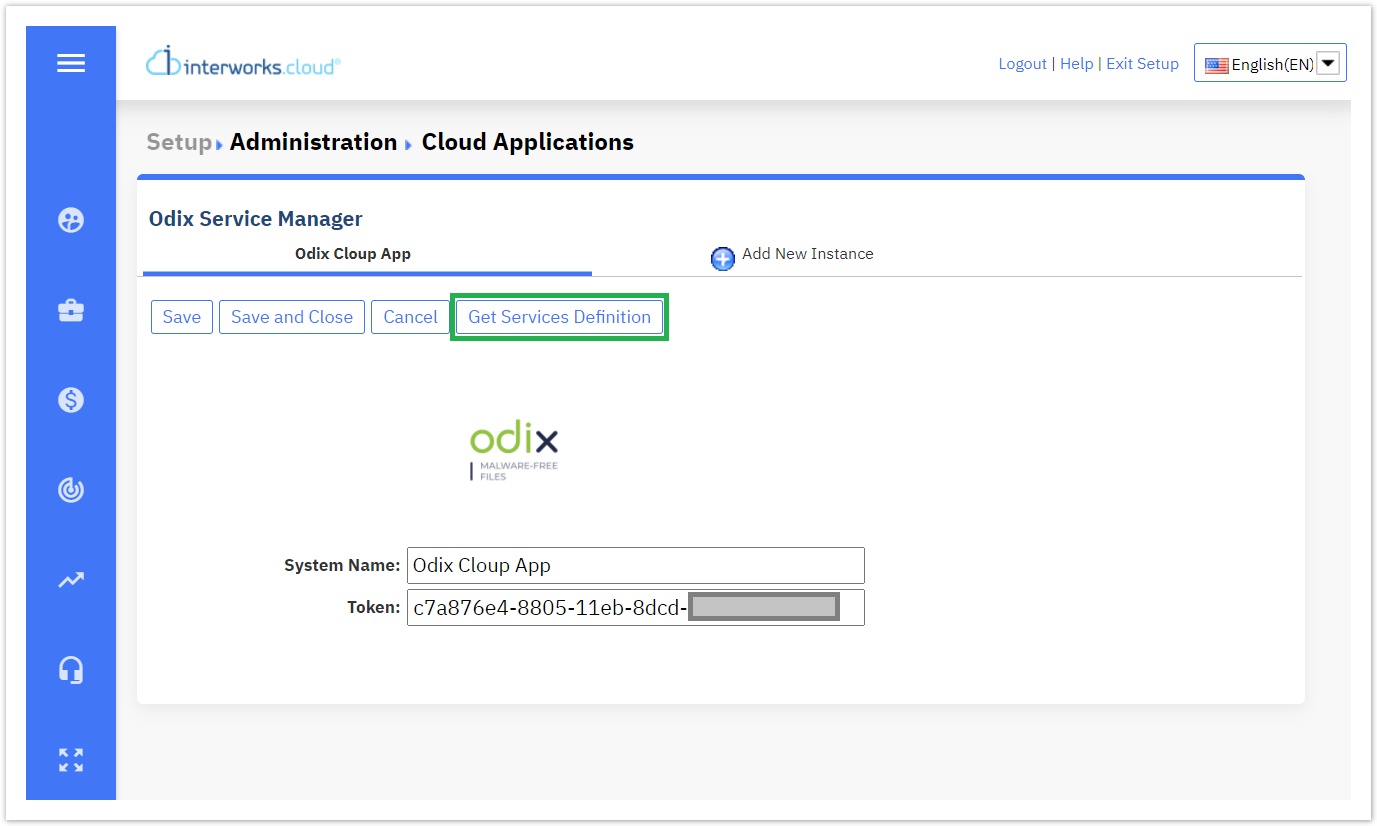
- System Name: In this field, you define how the instance is named, for example: "Odix Cloud App".
- Token: In this field, you fill in the Token that odix has provided you.
- Once you fill in the "System Name", click on the "Save" button.
- Now, you can select the "Get Services Definition" button to import the odix Product Type automatically to BSS.
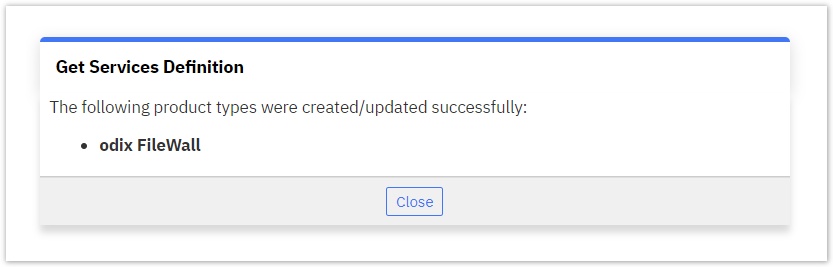
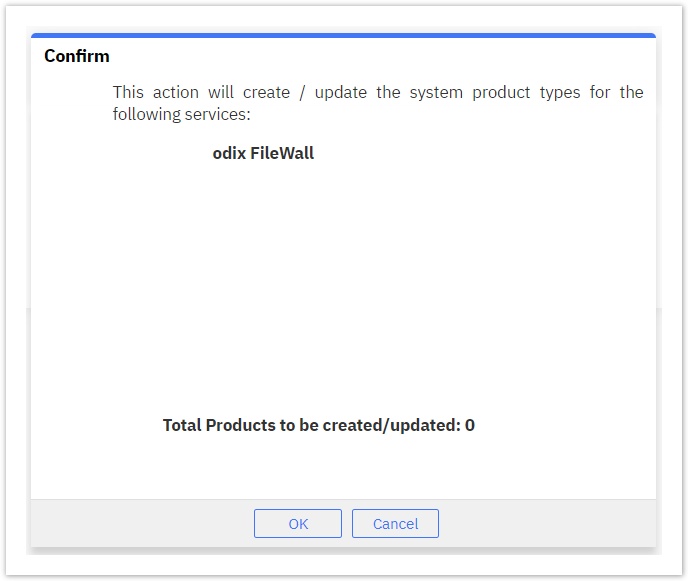
On the following pop-up window, you are being informed about the name of the Product Type that will be imported within BSS, which is the:
- odix FileWall
Click on the "OK" button to proceed.
- After the process is finished, click on the "Close" button. You are done with creating the required odix Product Type and/or updating the Service Manager with the latest functionality.