| Excerpt |
|---|
This page offers information on how to add marketing material for a product in your Storefront. Learn how to configure the detailed pages of your products in order to give your end customers a better understanding of the services you offer. |
Product Overview Settings
In the Storefront Settings page of a Product, there is a "one to one" representation of the Overview, Features and Support tabs of the detailed page of this product in your Storefront.
In the Overview tab, on the left side of the page there is a WYSIWYG editor where you can add information in order to give to customers a high level of understanding of this product. The editor has two operation modes, the 'Design' mode and the 'HTML' mode. The first can be easily used as it allows copy-paste operations and consists of several tools to facilitate your work. On the right side of the page, under the Screenshots, Demo & Documents sections, you can add screenshots, demo links and documentation links related to this product.
| Gliffy | ||||
|---|---|---|---|---|
|
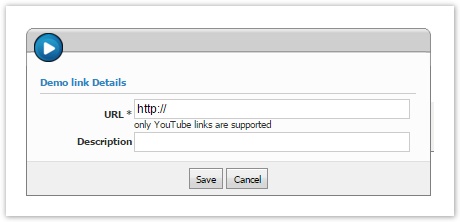
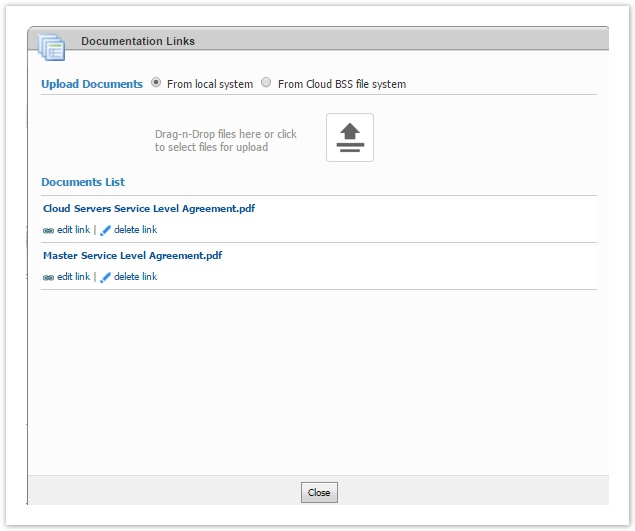
On the right side of the page, under the Screenshots, Demo & Documents sections, you can add screenshots, demo links and documentation links related to this product.
Screenshots
In order to attach screenshots, click on "add/remove screenshots". In the pop-up window, click on "Browse..." to locate the screenshots. Once you select the desired screenshots, click on "Upload". When you finish click on "Close" and make sure to click on "Enable Link" so that the screenshots you added will be visible in your Storefront.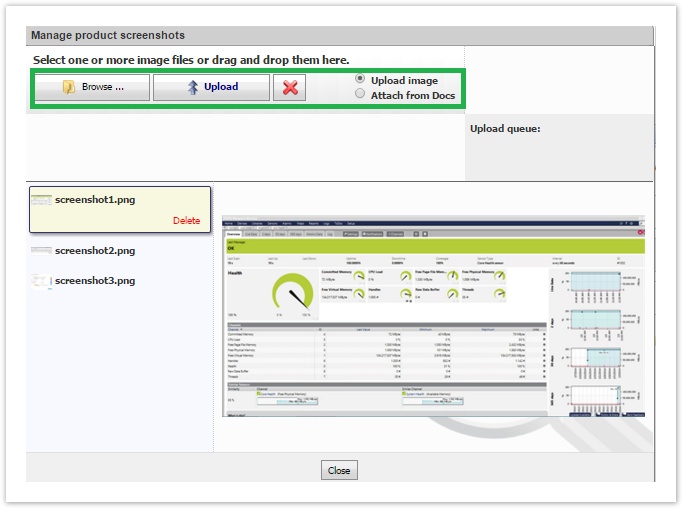


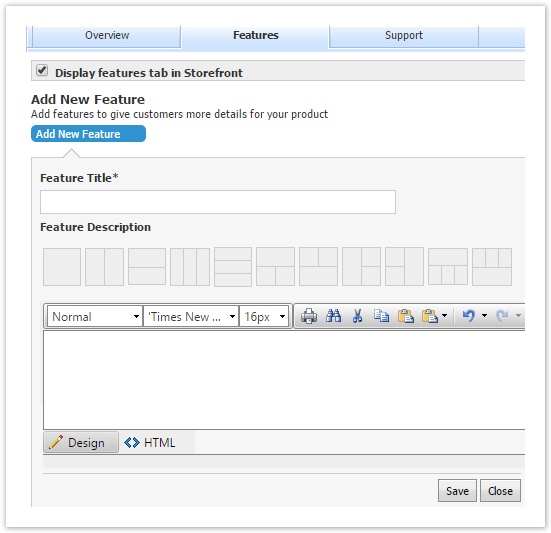
Product Features Settings
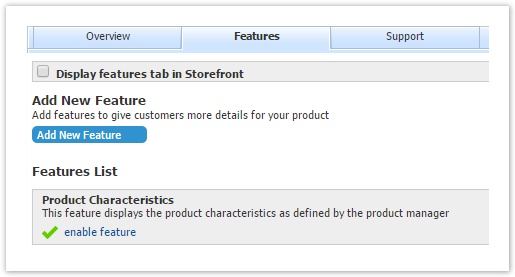
In the Features tab, check the "Display features tab in Storefront" flag in order to make Features tab visible in your Storefront. In order to add features to this product, click on "Add New Feature". You will be presented with a form where you have to fill in Feature Title and Feature Description. Once you finish editing, click on Save.

Display your Product Properties in Features Tab
In order to add in the Features list an extra feature that contains a presentation matrix of the properties of this product, go to the Product Characteristics section and click on "enable feature".

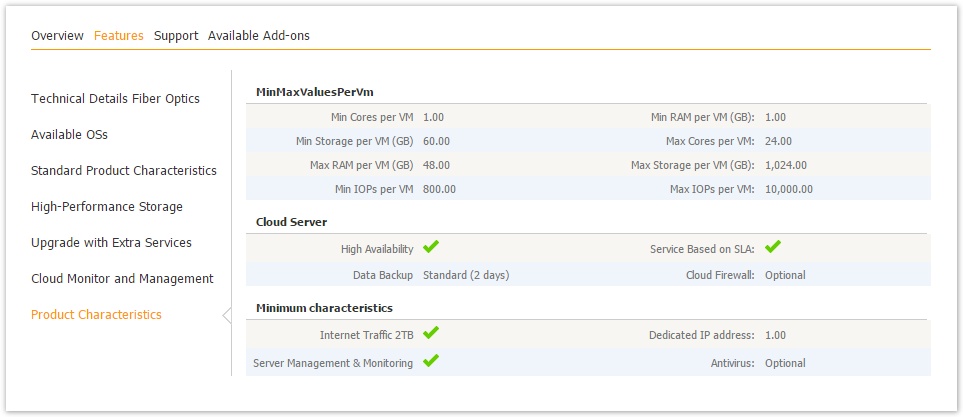
Once you enable Product Characteristics, an extra tab will appear in your Features list, containing a matrix that includes all the Product Properties you selected to be visible in your Storefront. To learn how to select which Properties of a Product Type will be visible in your Storefront, please visit the Create a Comparison Matrix for the Editions of a Product Group 4662107 guide.

Product Support Settings
In the Support tab, check the "Display support tab in Storefront" flag in order to make Support tab visible in your Storefront. Under Support Options, you are able to provide support details for this product, such as:
Support Phone Number
Support email address
Knowledge base URL
Any Support Details, for example, the available support plans that you offer for this product.
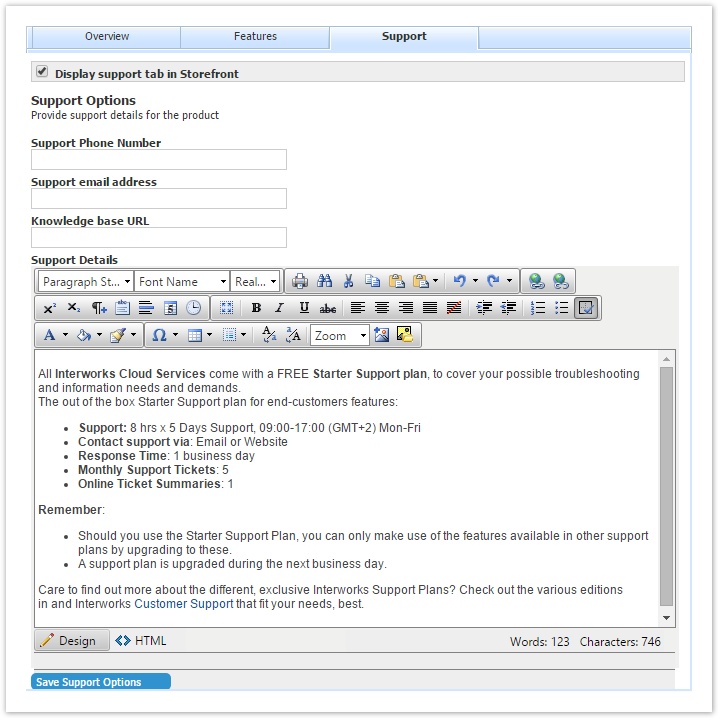

Table of Contents
| Table of Contents | ||||
|---|---|---|---|---|
|